
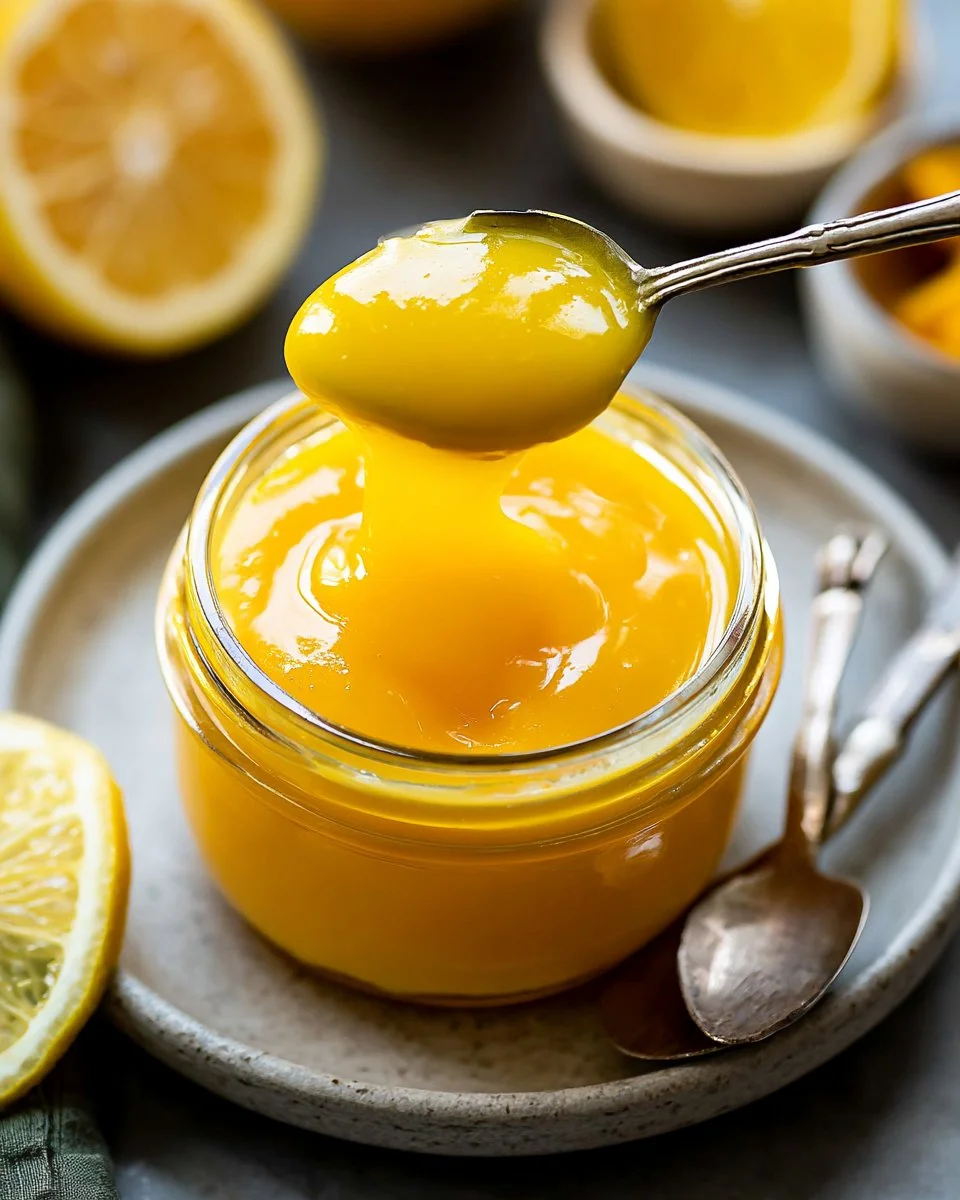
Nothing quite compares to the luxurious texture and vibrant flavor of homemade lemon curd. This luscious spread is perfect for adding a bright, zesty kick to your desserts, breakfast, or even straight off the spoon! Imagine a smooth and rich concoction that perfectly balances tartness and sweetness, enveloping your taste buds in sunshine. The versatility of lemon curd makes it an absolute must-have in your kitchen, whether you use it in tart filling, as a topping for pancakes, or simply as a filling for pastries. With a few simple ingredients, you can create this delightful homemade treat that rivals any store-bought version. Get ready to elevate your culinary game with this delightful addition that promises to bring vibrancy and flavor to every bite!
Quick Answer
This thick and buttery lemon curd recipe is a simple yet indulgent treat made with fresh lemon juice, eggs, and butter. It’s perfect for spreading or using in desserts!
Why You’ll Love This Recipe
This homemade lemon curd is an absolute standout in any dessert repertoire. Here’s why:
- Rich Flavor: The combination of fresh lemon juice and zest brings a zesty explosion of flavor.
- Versatile Use: Perfect as a spread, filling, or topping for various desserts.
- Simple Ingredients: Made with basic kitchen staples for a straightforward approach.
- Texture Perfection: Smooth, thick, and buttery – ideal for both sweet and savory dishes.
- Easy to Make: A seamless process that yields impressive results, even for beginners.
- Store-Friendly: Perfect for making in batches and storing for later use.
- Homemade Goodness: There’s nothing like the satisfaction of creating something from scratch.
What Makes This Recipe Special
The magic of this lemon curd lies in its exquisite balance of flavors and texture. The unsalted butter adds a velvety richness, making every spoonful ultra-smooth and delectable. By using both whole eggs and additional yolks, the curd achieves a luxurious thickness that feels indulgent. Freshly grated lemon zest not only amplifies the citrus aroma but also adds a subtle complexity to the flavor profile. Cooked over low heat, this method helps prevent curdling while allowing the flavors to meld beautifully as it thickens, resulting in a delicately sweet yet tangy masterpiece. Whether you’re spreading this lovely concoction on toast, dolloping it onto desserts, or simply enjoying it on its own, it’s bound to impress.
Kitchen Tools You’ll Need
- Heatproof Bowl – Essential for melting the butter and zest while keeping it safe from direct heat.
- Medium Saucepan – Needed for cooking the lemon curd mixture over medium-low heat.
- Whisk – Crucial for mixing the ingredients smoothly and evenly.
- Mesh Strainer – Used to sieve the curd, ensuring a smooth final texture.
- Jar or Container – Ideal for storing the cooled lemon curd in the refrigerator.
Ingredients
- unsalted butter: Provides a creamy richness that makes the curd indulgent.
- lemon zest: Adds a bright and aromatic flavor that enhances the overall taste.
- organic granulated sugar: Sweetens the curd, balancing the tartness of the lemons.
- fine sea salt: Enhances flavors, creating a more rounded taste.
- eggs: Essential for structure, contributing to the creaminess and thickness of the curd.
- egg yolks: Intensifies the richness and color of the curd.
- strained lemon juice: The key ingredient that provides the tart and refreshing flavor.
Ready to cook? Scroll to the recipe card below for exact measurements.
How to Make THICK & BUTTERY HOMEMADE LEMON CURD
Phase 1 – Prep
STEP 1. Prepare the Butter and Zest. Place the butter and lemon zest in a heatproof bowl and set aside with a mesh strainer over it.
Phase 2 – Cook
STEP 2. Combine Ingredients. In a medium saucepan, whisk together sugar, salt, eggs, and egg yolks. Gradually whisk in lemon juice.
STEP 3. Cook to Thicken. Cook over medium-low heat while stirring constantly until thickened and reaches 165-170ºF.
STEP 4. Check for Curdling. Remove from heat if curdling occurs.
STEP 5. Strain the Curd. Pour curd through the strainer into the bowl with butter to stop cooking, whisk to combine.
Phase 3 – Serve
STEP 6. Store and Chill. Store in jars and let cool before refrigerating. Can chill for 30-60 minutes or freeze for a few months.
Why This Recipe Works
This lemon curd recipe achieves the perfect balance between creaminess and brightness. The melted butter combines harmoniously with the eggs and yolks, yielding a silken texture that melts in your mouth. The tartness of the lemon juice contrasts beautifully with the sweetness from the sugar, layering flavors that keep your palate engaged. Cooking slowly on medium-low heat not only prevents the mixture from curdling but also allows the ingredients to blend together, creating a luscious result. As the mixture thickens, it transforms into a velvety sauce that can also be used in numerous dessert applications, making it an essential skill for any aspiring home baker.
Pro Tips
- Use fresh lemons for the best flavor; bottled lemon juice lacks the vibrancy you want in homemade curd.
- Ensure that you whisk constantly while cooking to prevent the mixture from sticking to the bottom of the pan.
- Keep a close eye on the temperature; overcooking will cause curdling.
- Let the curd cool completely before storing it to avoid condensation inside your jars, which can dilute the flavor.
- Experiment with different citrus fruits for various flavor profiles, like lime or orange.
Common Mistakes to Avoid
- Mistake: Overheating the mixture.
- Why it happens: Cooking too quickly or at too high a temperature can lead to curdling.
- How to fix it: Maintain a steady medium-low heat and stir constantly.
- Mistake: Not using enough lemon juice.
- Why it happens: Insufficient acid leads to a lack of flavor.
- How to fix it: Always measure the lemon juice accurately for a balanced taste.
- Mistake: Not straining the mixture.
- Why it happens: Bypassing this step may result in a grainy texture.
- How to fix it: Always strain through a fine mesh to achieve silky smooth curd.
- Mistake: Storing before it cools.
- Why it happens: Warming curd can create moisture in jars.
- How to fix it: Allow curd to reach room temperature before sealing it.
Variations
- Swap lemon juice for lime or orange juice for a different citrus flavor.
- Add a splash of vanilla or a pinch of ginger for extra depth.
- Incorporate fresh herbs like basil or mint for a refreshing twist.
- Use this curd as a filling for cakes, tarts, or pastries.
Nutrition Highlights
| Nutrient | Role |
|---|---|
| Vitamin C | Supports the immune system and skin health with its antioxidant properties. |
| Healthy Fats | From butter, contributes to satiety and flavor in recipes. |
| Protein | Essential for muscle repair and growth contained in eggs. |
Serving Ideas
Enjoy your homemade lemon curd spread over warm toast or scones for a delightful breakfast treat. It also makes a refreshing topping for Greek yogurt, adding a tangy twist. For dessert, layer lemon curd in parfaits with whipped cream and fresh fruits. Try it as a decadent filling for cakes or tarts, or use it to elevate a simple cheesecake. The possibilities are endless to incorporate this vibrant curd into your meals!
Best Occasions for This Recipe
This delicious lemon curd is perfect for spring gatherings, birthday celebrations, and holiday feasts. It brightens up brunch menus, offering a refreshing option alongside traditional items. Serve it at tea parties or as part of a dessert table for a stunning and sweet surprise. Homemade gifts of lemon curd in pretty jars can also brighten someone’s day, making it a perfect option for housewarming or holiday presents!
Meal Prep & Storage
Meal Prep
Homemade lemon curd can be prepared in advance and stored to enjoy later. Simply double the recipe for a larger batch, perfect for various uses throughout the week.
Refrigeration
Store your lemon curd in airtight jars in the refrigerator. It can last for about one week if properly sealed.
Freezing
Lemon curd can be frozen for up to three months. Portion it into small containers or jars for easy access later.
Reheating
When using frozen lemon curd, thaw it slowly in the refrigerator. If needed urgently, you can microwave it in short intervals, stirring in between to prevent hot spots.
FAQs
Can I use bottled lemon juice for this recipe?
While you can use bottled lemon juice, fresh juice gives the best flavor and brightness.
What should I do if my lemon curd is too runny?
Return it to the heat and continue cooking until it thickens to the desired consistency.
Can I add other flavors to lemon curd?
Yes, you can infuse flavors such as vanilla, ginger, or even herbs like rosemary for unique profiles.
How do I know when my lemon curd is ready?
Your curd is ready when it’s thick enough to coat the back of a spoon and reaches the correct temperature.
How should I store lemon curd?
Store in an airtight container in the refrigerator for up to a week or freeze for longer preservation.
Save This Recipe for Later
Don’t miss out on the opportunity to create this delightful lemon curd! Save this recipe to your favorite boards for easy access anytime you crave that bright, zesty flavor.
Conclusion
Making your own lemon curd at home is simple, rewarding, and offers a delightful burst of flavor that elevates countless dishes. With its creamy texture and vibrant zesty appeal, this curd promises to be a star in your kitchen. Whether you’re spreading it on toast, dolloping it on desserts, or enjoying it by the spoonful, you’ll fall in love with this decadent and refreshing treat!
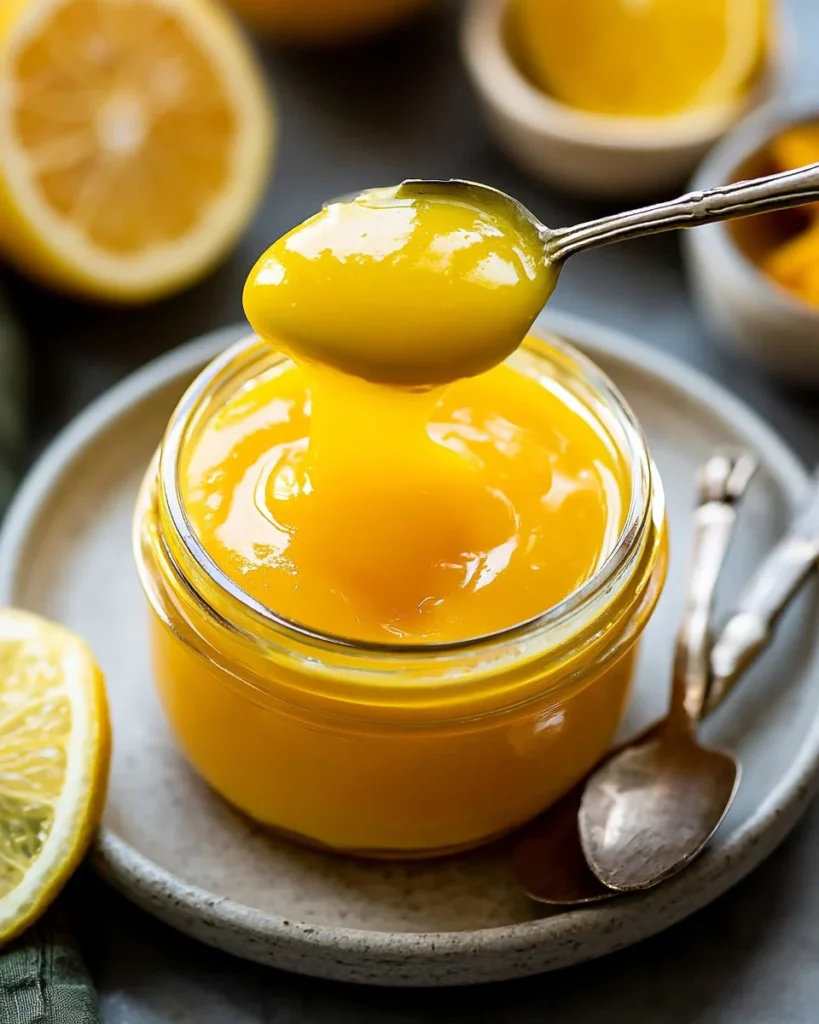
Thick & Buttery Homemade Lemon Curd
Ingredients
Method
- Prepare the Butter and Zest: Place the butter and lemon zest in a heatproof bowl and set aside with a mesh strainer over it.
- Combine Ingredients: In a medium saucepan, whisk together sugar, salt, eggs, and egg yolks. Gradually whisk in lemon juice.
- Cook to Thicken: Cook over medium-low heat while stirring constantly until thickened and it reaches 165-170ºF.
- Check for Curdling: Remove from heat if curdling occurs.
- Strain the Curd: Pour curd through the strainer into the bowl with butter to stop cooking. Whisk to combine.
- Store and Chill: Store in jars and let cool before refrigerating. Can chill for 30-60 minutes or freeze for a few months.