
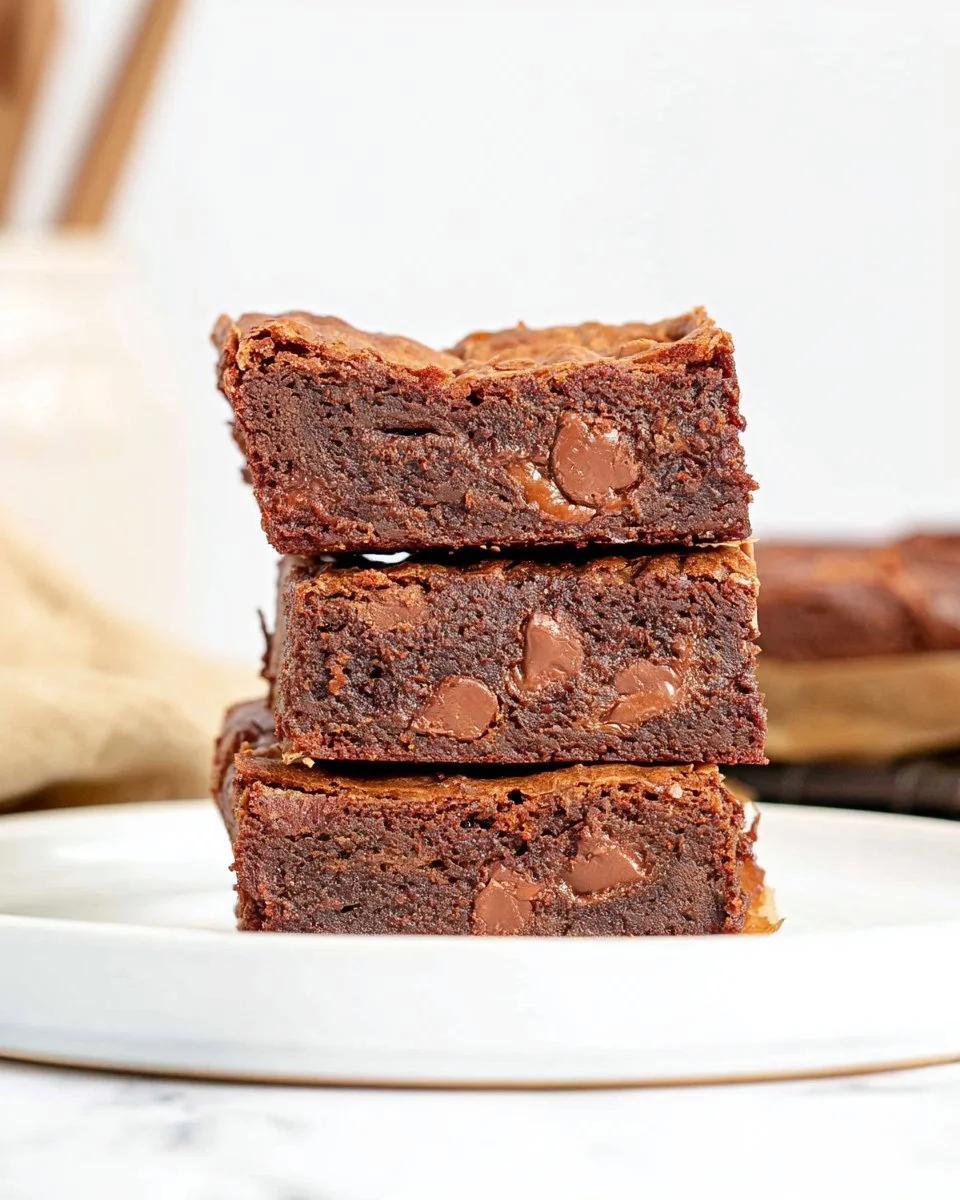
There’s nothing quite like sinking your teeth into a fudgy brownie, especially when it boasts a rich chocolate flavor that melts in your mouth. Milk chocolate brownies are a sweet indulgence that combines a satisfying chewiness with a deliciously soft interior, creating an experience that’s both comforting and joyful. Whether you’re treating yourself to an afternoon snack or planning a delightful dessert for a family gathering, these brownies don’t just fill a dessert slot; they create memories.
Perfect for busy weeks or special occasions alike, the ease of preparation ensures that even the most inexperienced bakers can master this recipe. With minimal ingredients and simple steps, you’ll have a batch of decadent brownies that might just inspire some new traditions in your kitchen.
Quick Answer
This recipe for milk chocolate brownies offers a quick and easy way to enjoy a classic dessert that appeals to all ages. Perfect for parties or simple weeknight desserts, these brownies are a delightful treat that satisfies chocolate cravings.
Why You’ll Love This Recipe
This milk chocolate brownie recipe promises to win hearts with its perfect balance of flavors and textures. Rich, chocolatey goodness pairs perfectly with a gooey interior and slightly crispy edges, providing a delightful bite every time. Not only are these brownies delectable, but they are also remarkably convenient for any occasion, making them a go-to favorite for families and chocolate lovers alike.
- Flavorful and rich: The milk chocolate brings a luscious sweetness that’s irresistible.
- Fudgy texture: A chewy yet soft center creates a melt-in-your-mouth experience.
- Quick preparation: With straightforward steps, you can whip these up in no time.
- Family-friendly: A dessert the entire family will enjoy.
- Great for sharing: Perfect for potlucks and gatherings.
- Meal prep friendly: These brownies hold up well for a sweet treat all week long.
- Versatile: Serve as is or with toppings for added flair.
What Makes This Recipe Special
One of the standout features of this milk chocolate brownie recipe is its beautifully gooey texture, which provides a satisfying contrast to the slightly firm edges. The brownies’ rich flavor is perfectly balanced; the sweetness of the milk chocolate brings joy without overwhelming your palate. Additionally, the simplicity of the recipe’s ingredient list allows anyone to create these delightful treats without needing complex baking skills, making it emotionally rewarding to see them come out beautifully. It’s the nostalgic comfort of homemade brownies that makes it an all-time classic that stands the test of time.
Kitchen Tools You’ll Need
- 8-inch baking pan – perfect for a classic brownie shape.
- Mixing bowl – to combine your ingredients smoothly.
- Microwave or double boiler – for melting your chocolate and butter.
- Whisk – essential for mixing the ingredients thoroughly.
- Spatula – helps in folding the batter and transferring it to the pan.
- Measuring cups – for ensuring precise ingredient portions.
Ingredients
unsalted butter: Adds richness and moisture to the brownies.
milk chocolate: Provides a sweet and creamy base flavor.
white sugar: Sweetens the brownies and contributes to their texture.
brown sugar: Adds depth of flavor and moisture.
eggs: Helps bind the ingredients together, creating a fudgy texture.
vanilla extract: Enhances the overall flavor profile with a warm aroma.
all-purpose flour: The structure-building ingredient that creates the brownie base.
cocoa powder: Intensifies the chocolate flavor in the brownies.
salt: Balances the sweetness and enhances flavors.
milk chocolate chips: Provides extra bursts of rich chocolate flavor throughout.
Ready to cook? Scroll to the recipe card below for exact measurements.
How to Make Milk Chocolate Brownies
STEP 1. Preheat the oven. Set your oven to 350°F (180°C or 170°C fan forced) to prepare for baking.
STEP 2. Prepare the baking pan. Line an 8-inch square baking pan with aluminum foil or baking paper, leaving an overhang around the sides, or lightly grease the pan.
STEP 3. Melt the butter and chocolate. In a large bowl, melt the chopped chocolate and butter together using a microwave on medium power or a double boiler until smooth.
STEP 4. Mix in sugars. Stir in the white and brown sugar until well combined.
STEP 5. Add eggs and vanilla. Whisk in the eggs and vanilla extract until the mixture is smooth and lump-free.
STEP 6. Fold in dry ingredients. Gently fold the flour, cocoa powder, and salt into the wet mixture until just combined.
STEP 7. Add chocolate chips. Incorporate the milk chocolate chips into the batter for extra sweetness and texture.
STEP 8. Pour and smooth the batter. Transfer the batter into the prepared pan and smooth the top with a spatula.
STEP 9. Bake. Place in the oven and bake for 22-27 minutes, or until the top appears set and a toothpick inserted comes out with a few damp crumbs.
STEP 10. Cool and slice. Allow the brownies to cool in the pan for about 3 hours before lifting them out and slicing into squares.
Why This Recipe Works
The balance of milk chocolate and sugars creates a rich flavor that stands out without being overly sweet. The use of butter and eggs contributes to a fudgy texture that’s prized in brownie recipes: the moisture keeps the center melt-in-your-mouth tender while still allowing for those delightful edges. When mixed properly, the ingredients interact to produce a compact but soft crumb, ensuring no dry bites in the finished product. This combination of careful baking and quality ingredients produces brownies that will have you coming back for seconds.
Pro Tips for Best Results
- Use high-quality chocolate for a deeper flavor.
- Don’t overmix the batter; this prevents the brownies from becoming tough.
- Bake just until the edges are set to maintain a fudgy center.
- Refrigerate the brownies overnight for enhanced flavor and texture.
- Top with nuts or additional chocolate chips right before baking for a delightful crunch.
- Let the brownies cool completely before slicing for cleaner cuts.
Common Mistakes to Avoid
Mistake:
Overbaking the brownies.
Why it happens:
Too much time in the oven can dry them out.
How to fix it:
Check doneness a few minutes before the timer goes off.
Mistake:
Incorrect measurements.
Why it happens:
Relying on estimated measurements instead of precise ones.
How to fix it:
Always use measuring cups and spoons for accuracy.
Mistake:
Not cooling properly.
Why it happens:
Slicing too early can lead to messy pieces.
How to fix it:
Always let brownies cool in the pan for a few hours.
Mistake:
Not using enough chocolate.
Why it happens:
Relying on cocoa powder alone can dull the flavor.
How to fix it:
Ensure you’re using both melted chocolate and chocolate chips.
Recipe Variations
- Substitute dark chocolate for a richer flavor.
- Add nuts like walnuts or pecans for extra crunch.
- Incorporate peanut butter chips for a chocolate-peanut butter treat.
- Toss in some dried fruit like cherries for a tart contrast.
- Top with a layer of frosting for indulgent brownie bars.
Nutrition Highlights
| Nutrient | Amount per Serving |
|---|---|
| Protein | ~2g |
| Fiber | ~1g |
| Carbohydrates | ~30g |
| Healthy Fats | ~7g |
| Calories | ~200 |
How to Serve Milk Chocolate Brownies
- Pair with a scoop of vanilla ice cream for a delightful contrast.
- Drizzle with chocolate or caramel sauce for added sweetness.
- Serve warm for a gooey texture or chilled for a firmer bite.
- Dust with powdered sugar for a simple yet elegant finish.
- Accompany with fresh berries for a fruity balance.
Best Occasions for This Recipe
- Weeknight dinners as a quick dessert fix.
- Holiday parties to impress friends and family.
- Meal prepping for sweet snacks throughout the week.
- Family gatherings or potlucks where swift serving is key.
- Outdoor picnics for a delightful treat on the go.
Make Ahead & Storage
Can This Be Meal Prepped
Yes, these brownies can be prepared ahead of time. Simply follow the recipe and store them for later enjoyment.
Storing Leftovers
Once cooled, store leftovers in an airtight container at room temperature for up to five days.
Freezing
For longer storage, freeze brownies wrapped tightly in plastic wrap for up to three months.
Reheating
To reheat, place individual brownie squares in the microwave for a few seconds until warmed through.
Creative Ways to Use Leftovers
Leftover brownies can be transformed into scrumptious treats:
- Cut into chunks and add to yogurt for a decadent breakfast.
- Use as a layer in desserts like trifle or parfaits.
- Crush and sprinkle over ice cream for an added crunch.
- Incorporate pieces into wraps or sandwiches for a fun sweet twist.
FAQs
How can I tell when my brownies are done?
The edges should look set, and a toothpick inserted in the center should come out with a few damp crumbs for a fudgy brownie.
Can I use cocoa powder instead of chocolate?
While you can, the texture and flavor may be different; milk chocolate provides a creaminess not achieved with cocoa alone.
How should I store the brownies?
Store in an airtight container at room temperature for a few days, or refrigerate for longer freshness.
Can I freeze homemade brownies?
Yes! Wrap them tightly in plastic wrap and freeze to enjoy later.
What can I serve with brownies?
Pair with vanilla ice cream, whipped cream, or fresh berries for a delightful dessert experience.
Save This Recipe for Later
If you love chocolate desserts, don’t forget to save this recipe for quick access or pin it on Pinterest for future baking adventures!
Final Thoughts
Rich, fudgy, and utterly comforting, these brownies tick all the boxes for dessert lovers. They’re not just a treat; they’re a canvas for creative pairings and delightful memories. Whether for a special occasion or a weeknight dessert, give this recipe a try, and you won’t be disappointed!
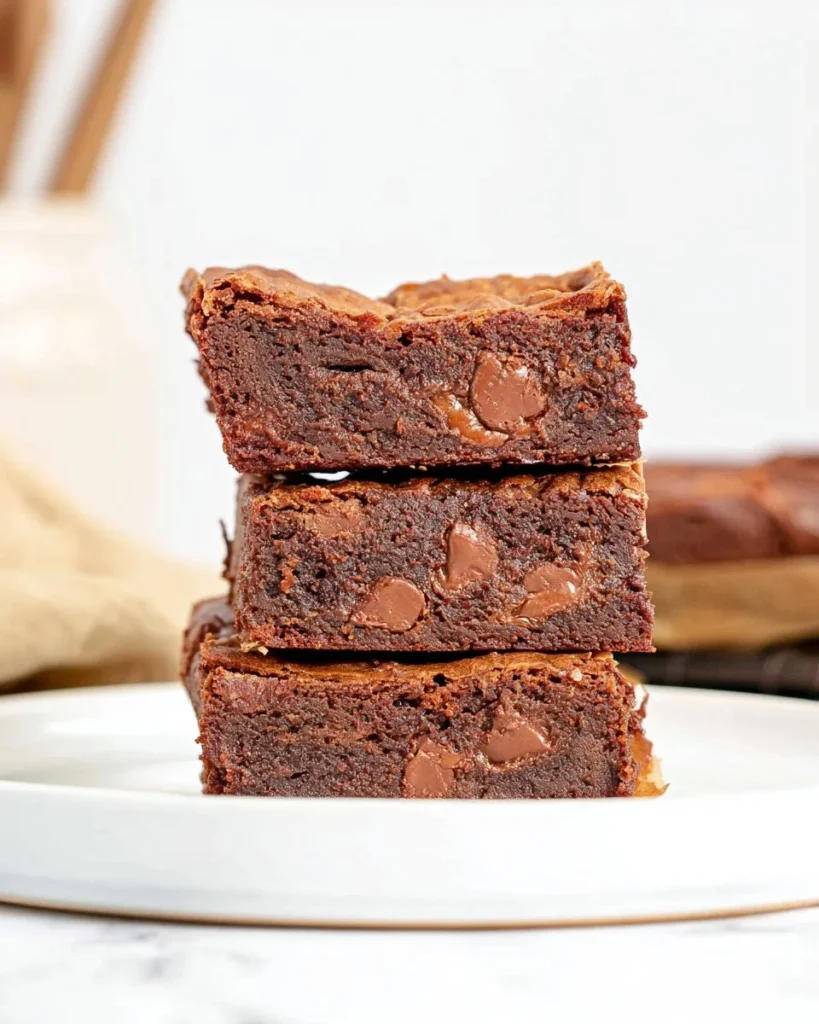
Milk Chocolate Brownies
Ingredients
Method
- Preheat the oven to 350°F (180°C or 170°C fan forced).
- Line an 8-inch square baking pan with aluminum foil or baking paper, leaving an overhang, or lightly grease the pan.
- In a large bowl, melt the chopped chocolate and butter together using a microwave on medium power or a double boiler until smooth.
- Stir in the white sugar and brown sugar until well combined.
- Whisk in the eggs and vanilla extract until the mixture is smooth and lump-free.
- Gently fold in the flour, cocoa powder, and salt until just combined.
- Incorporate the milk chocolate chips into the batter for extra sweetness and texture.
- Transfer the batter into the prepared pan and smooth the top with a spatula.
- Place in the oven and bake for 22-27 minutes, or until the top appears set and a toothpick inserted comes out with a few damp crumbs.
- Allow the brownies to cool in the pan for about 3 hours before lifting them out and slicing into squares.