

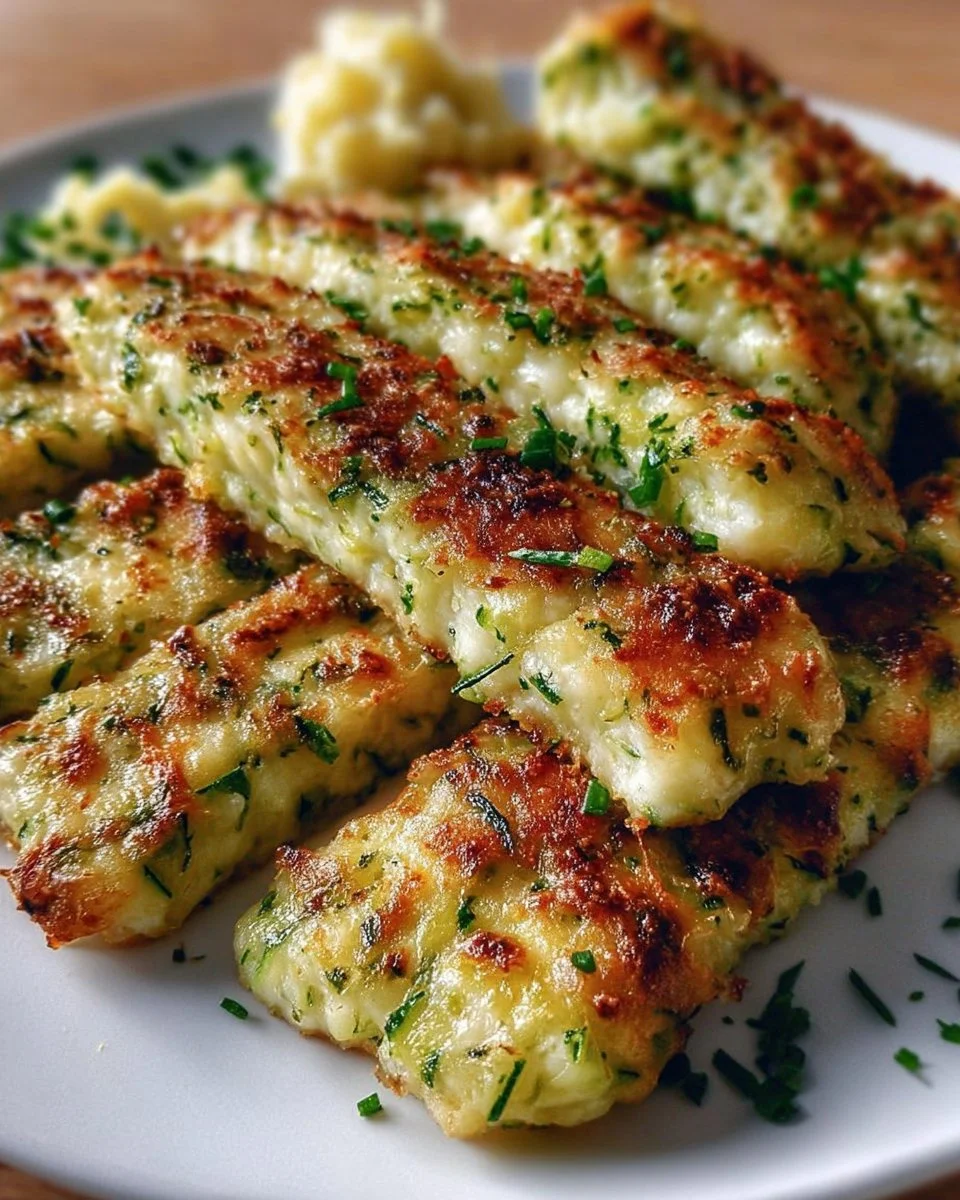
If you’re looking for a fantastic way to sneak some veggies into your family’s diet, these Cheesy Zucchini Breadsticks are the answer! With a crispy exterior and a soft, cheesy inside, they’re perfect for snacking, parties, or even as a satisfying side dish. What makes these breadsticks even better is that they’re loaded with flavor and nutrition, making them a guilt-free indulgence that everyone will love. Trust me, this is a game changer for meal prep or a quick weeknight treat!
Why You’ll Love This Cheesy Zucchini Breadsticks
These Cheesy Zucchini Breadsticks are not only delicious, but they’re also a great way to enjoy a healthy, low-carb snack that the whole family can agree on. The combination of gooey cheese and tender zucchini creates a mouthwatering experience that feels indulgent but is surprisingly good for you.
- Rich flavor profile with a cheesy, slightly savory taste.
- Perfectly baked for a delightful crispy texture.
- Excellent for meal prep—make a big batch and enjoy throughout the week!
- Full of health benefits, including vitamins and fiber from zucchini.
- Super convenient, ready in about 30 minutes!
- Family-friendly—kids love them just as much as adults!
Ingredients for Cheesy Zucchini Breadsticks
- Zucchini – the star ingredient, packed with moisture and nutrients.
- Cheese – adds a creamy, savory flavor that melts beautifully.
- Almond flour – a low-carb option for a satisfying crunch.
- Eggs – bind everything together while adding protein.
- Garlic powder – for a robust, savory kick.
- Italian seasoning – enhances the overall flavor profile with herbs.
- Salt and pepper – to taste, elevating all the natural flavors.
Ready to cook? Scroll to the recipe card below for exact measurements.
How to Make Cheesy Zucchini Breadsticks
- Preheat your oven to 400°F (200°C) and line a baking sheet with parchment paper.
- Grate the zucchini using a box grater and place it in a clean kitchen towel. Squeeze out as much moisture as possible.
- In a mixing bowl, combine the grated zucchini, cheese, almond flour, eggs, garlic powder, Italian seasoning, salt, and pepper.
- Spread the mixture out evenly on the prepared baking sheet into a rectangular shape, about 1/2 inch thick.
- Bake for 20-25 minutes or until the edges are golden brown.
- Remove from the oven, allow to cool for a few minutes, and cut into sticks.
- Serve warm and enjoy!
Pro Tips for Best Results
- For an extra crispy texture, broil the breadsticks for an additional 1-2 minutes after baking.
- If you need a nut-free option, substitute with traditional flour but adjust the amount accordingly.
- Experiment with different cheeses like mozzarella or cheddar for varied flavor experiences.
- Add a pinch of red pepper flakes for a spicy kick!
- Chop fresh herbs like basil or parsley for a burst of freshness.
- For faster prep, use pre-grated cheese and pre-washed zucchini.
- Make double the batch and freeze for a quick snack anytime!
Common Mistakes to Avoid
- Not draining the zucchini properly: This can lead to mushy breadsticks. Make sure to squeeze out all excess liquid to achieve the right texture.
- Baking at too low a temperature: If the oven isn’t hot enough, the breadsticks won’t crisp up. Always preheat your oven before baking.
- Skipping the parchment paper: This can cause sticking and make cleanup a hassle. Always line your baking sheet.
Recipe Variations
- Gluten-Free: Use certified gluten-free flour as a substitute for almond flour.
- Dairy-Free: Try using vegan cheese or nutritional yeast for a cheesy flavor without dairy.
- Spicy Version: Mix in some jalapeños or cayenne pepper for added heat.
- Herb-Forward Version: Add in fresh chopped herbs like rosemary or thyme for an aromatic twist.
- Air Fryer Adaptation: Air fry at 375°F (190°C) for 10-12 minutes for a quicker option.
How to Serve Cheesy Zucchini Breadsticks
Best Pairings
- Marinara sauce for dipping.
- Your favorite salad for a light meal.
- Homemade hummus for a nutty contrast.
Toppings
- Fresh parsley or basil for garnish.
- Grated Parmesan cheese for extra richness.
- Crushed red pepper for a spicy touch.
Garnishes
- Olive oil drizzle for added flavor.
- Lemon zest for brightness.
- Sesame seeds for extra crunch.
Make Ahead & Storage
Can This Be Meal Prepped
Absolutely! These breadsticks can be made ahead and stored in the fridge for up to 3 days.
Storing Leftovers
Keep any leftovers in an airtight container in the refrigerator. They will last for about 3 days.
Freezing
To freeze, place the fully cooled breadsticks in a single layer on a baking sheet, freeze until solid, then transfer to a freezer-safe bag or container. They’ll last up to a month.
Reheating
Reheat in the oven at 350°F (175°C) for about 10-15 minutes, or until warmed through. For a crispy texture, use the air fryer for about 5 minutes.
FAQs
Can I use yellow squash instead of zucchini? Yes, yellow squash works beautifully in this recipe!
How can I make these breadsticks lower in calories? Use reduced-fat cheese and substitute some of the almond flour with a lower-calorie alternative.
Are these breadsticks suitable for kids? Absolutely! They are great for sneaking veggies into their diet.
Can I add other vegetables? Yes! Feel free to incorporate finely chopped bell peppers or spinach for added nutrition.
Final Thoughts
If you’re searching for a healthy snack that pleases everyone, try these Cheesy Zucchini Breadsticks. They are not only delicious but also provide a nutritious twist on traditional breadsticks. Make them for your next family gathering or as part of your meal prep, and discover why they are a favorite in every home!

Cheesy Zucchini Breadsticks
Ingredients
Method
- Preheat your oven to 400°F (200°C) and line a baking sheet with parchment paper.
- Grate the zucchini using a box grater and place it in a clean kitchen towel. Squeeze out as much moisture as possible.
- In a mixing bowl, combine the grated zucchini, cheese, almond flour, eggs, garlic powder, Italian seasoning, salt, and pepper.
- Spread the mixture out evenly on the prepared baking sheet into a rectangular shape, about 1/2 inch thick.
- Bake for 20-25 minutes or until the edges are golden brown.
- Remove from the oven, allow to cool for a few minutes, and cut into sticks.
- Serve warm and enjoy!