

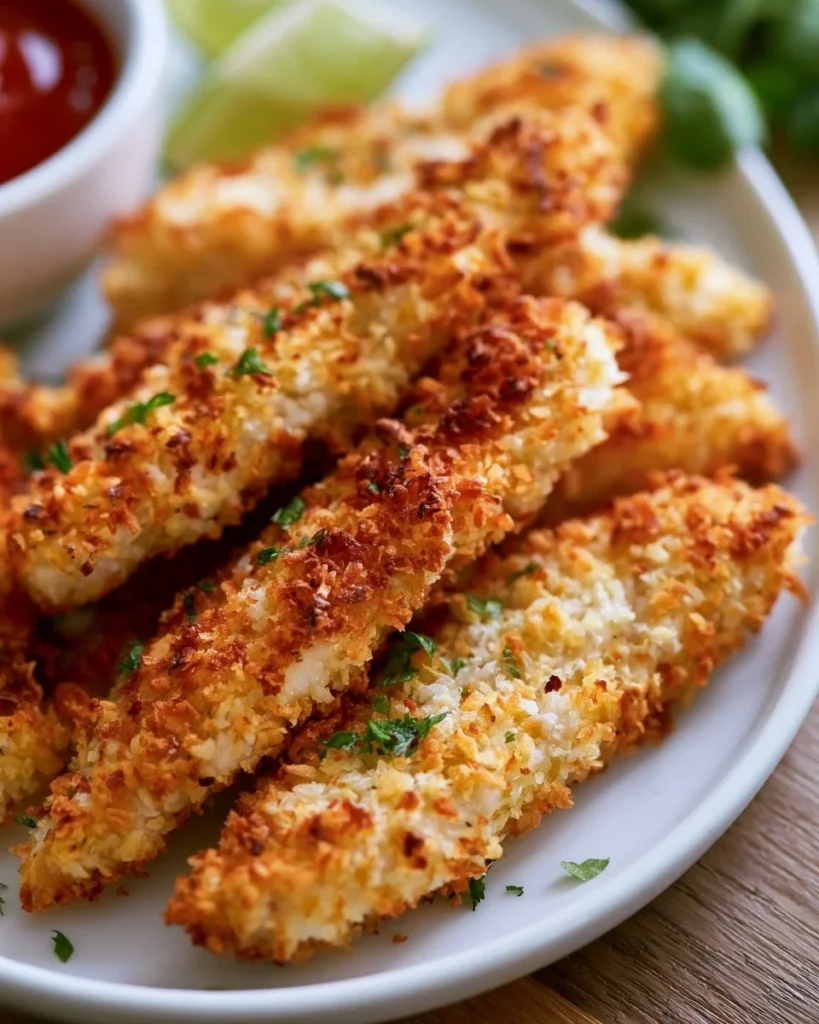
If you’re looking for a dish that combines the crunch of a classic fried item with the delightful sweetness of coconut, you’ve arrived at the right place. Imagine biting into tender chicken strips coated in a golden, crispy outer layer that crackles with each bite. The combination of textures—juicy chicken paired with crunchy panko and sweet coconut—creates a satisfying experience that will leave your taste buds dancing. Not only are these baked coconut chicken strips an irresistible treat, but they are also a healthier alternative to their fried counterparts. Baking them helps maintain a lighter profile without sacrificing flavor, making them perfect for easy dinner ideas or a quick family meal. With simple ingredients and straightforward preparation, this dish has the potential to become a favorite in your rotation. Serve them fresh from the oven with a zesty dipping sauce, and watch as they disappear!
Why You’ll Love This Recipe
This recipe is not just another chicken dish; it’s a delightful blend of sweet and savory that checks all the boxes. The simplicity of preparation means you can whip it up even on the busiest of nights. It’s a fun way to involve children in the kitchen, teaching them to help with the coating process. Additionally, it offers a wealth of flavors and textures to satisfy your cravings. The crispy coating enriches the moist chicken inside, while the optional dipping sauce enhances the overall experience. With its straightforward steps and common ingredients, you’ll find yourself making this dish again and again, becoming a go-to for comforting meals any day of the week.
What Makes This Recipe Special
What sets these baked coconut chicken strips apart is their unique flavor profile and texture. The combination of sweetened coconut and seasoned panko crumb creates an exotic twist that elevates the humble chicken tenderloin. Baking, rather than frying, not only keeps the dish lighter but also allows more time for the flavors to meld without the greasy texture often associated with fried foods. Each chicken strip emerges from the oven perfectly golden and crispy, making them visually appealing as well. The easy preparation encourages healthy meal prep without compromising on taste, and the versatility of this dish means that it can serve as an appetizer, snack, or main course.
Ingredients
chicken tenderloins: The main protein source, providing a flavorful and juicy base.
all-purpose flour: Acts as a coating base, helping the batter stick to the chicken.
kosher salt: Enhances the natural flavors of the chicken and the coating.
seasoned salt: Adds an extra layer of flavor to the chicken.
black pepper: Introduces a mild warmth and balance to the seasoning.
eggs: Binds the coating ingredients, adding richness to the process.
milk: Contributes to a smoother egg mixture for coating.
panko: Provides an exceptionally crunchy texture to the final product.
sweetened shredded coconut: Imparts a delightful sweetness and chewy texture.
extra virgin olive oil: Helps prevent sticking and promotes browning.
sweet chili sauce: Optional, serves as a spicy-sweet dipping companion.
mayonnaise: Acts as a creamy base for the dipping sauce.
crushed pineapple: Adds a tropical sweetness to the dip.
fresh cilantro: Provides a fresh, herbaceous note.
honey: Enhances sweetness and complements the sauce.
Sriracha sauce: Adds a spicy kick to counterbalance the sweetness.
fresh lime juice: Brightens up the dipping sauce with acidity.
How to Make Baked Coconut Chicken Strips
STEP 1. Preheat the oven. Set the oven temperature to 350°F and prepare a non-stick baking sheet by brushing it with olive oil.
STEP 2. Prepare the flour mixture. In a bowl, combine the flour, kosher salt, seasoned salt, and black pepper.
STEP 3. Whisk the wet ingredients. In a separate bowl, whisk together the eggs and milk until well combined.
STEP 4. Combine the coating ingredients. In another bowl, mix the sweetened shredded coconut and panko together.
STEP 5. Coat the chicken. Take each chicken tenderloin, dip it first into the flour mixture, then into the egg, and finally into the coconut-panko mixture, ensuring it’s well coated.
STEP 6. Arrange on the baking sheet. Place all coated chicken strips on the prepared baking sheet without overcrowding.
STEP 7. Bake the chicken. Bake in the preheated oven for 15-18 minutes, or until the chicken is fully cooked, covering with aluminum foil if it starts to brown too quickly.
STEP 8. Whisk the dipping sauce. For the optional dipping sauce, combine all sauce ingredients in a bowl and whisk until smooth. Serve alongside the chicken strips.

Pro Tips
For the best results with your baked coconut chicken strips, consider using fresh chicken tenderloins for a more succulent flavor. Ensure you coat each chicken piece thoroughly in the three-part breading process for maximum crunch. If you want a deeper coconut flavor, try toasting the shredded coconut in the oven or on the stovetop until golden before adding it to the panko. Additionally, keep an eye on the baking process in the final minutes. If the chicken is cooking too fast, cover it loosely with foil to prevent burning while allowing it to finish cooking through. Let the chicken strips rest for a few minutes after baking; this helps retain their moisture. Finally, don’t shy away from experimenting with your favorite dipping sauces to complement the coconut flavor.
Common Mistakes to Avoid
One common mistake while preparing baked coconut chicken strips is not drying the chicken thoroughly before coating it. Excess moisture can cause the coating to become soggy and prevent it from crisping up during baking. Another pitfall is overcooking or undercooking the chicken; using a meat thermometer can ensure the internal temperature reaches 165°F for safe consumption. Be cautious with the baking time; different ovens can vary, so monitor closely to prevent over-browning. Avoid using sweetened coconut in excess, as it may overpower the dish. Lastly, make sure to use a non-stick baking sheet or adequately grease the pan to prevent sticking, which can ruin the beautiful presentation of your chicken strips.
Variations
• Swap coconut for crushed cornflakes for an added crunch.
• Use almond flour instead of all-purpose flour for a gluten-free option.
• Add spices like paprika or garlic powder to the flour mixture for extra flavor.
• Replace sweetened coconut with unsweetened for a less sweet profile.
• Try different proteins, such as shrimp or tofu, using the same coating method.
Serving Ideas
Baked coconut chicken strips are wonderfully versatile and can be featured in various meals. Serve them as an appetizer at your next gathering with a variety of dipping sauces for guests to enjoy. Pair them with a vibrant salad—think mixed greens with a zesty vinaigrette—for lunch or dinner. They also make excellent additions to a tropical-themed platter, alongside pineapple salsa and guacamole. For a quick dinner, serve them with steamed vegetables and a light rice for a complete meal. Lastly, pack them in a lunchbox for a satisfying, high-protein snack during the day.
Meal Prep & Storage
Preparing baked coconut chicken strips ahead of time is easy and efficient. You can coat the chicken strips in advance and store them in an airtight container in the refrigerator for up to 24 hours before baking. To freeze, place the baked f chicken strips on a baking sheet in a single layer until fully frozen, then transfer them to a freezer-safe bag or container. They’ll remain good for up to three months. When ready to eat, reheat from frozen in a preheated oven at 375°F for 15-20 minutes or until heated through and crispy. Enjoy the convenience of homemade chicken strips anytime!

FAQs
Can I use frozen chicken tenderloins?
Yes, frozen chicken tenderloins can be used. Just make sure they are completely thawed before starting the coating process.
What if I don’t like coconut?
You can replace the coconut with breadcrumbs or crushed cornflakes for added crunch without the coconut flavor.
How do I know when the chicken is fully cooked?
The safest method is to use a meat thermometer, ensuring the internal temperature reaches 165°F.
Can I make this recipe dairy-free?
Yes, you can substitute the milk with plant-based alternatives such as almond milk or oat milk.
How long can leftovers be stored?
Baked coconut chicken strips can be stored in the refrigerator for up to three days in an airtight container.
Conclusion
Baked coconut chicken strips serve as a deliciously unique option for a quick meal or a crowd-pleasing appetizer. Their crispy, flavorful exterior and tender interior satisfy both the palate and the eye. With minimal ingredients and straightforward preparation, this dish is perfect for family dinners or entertaining guests. Embrace the delightful crunch and warmth of coconut and take your chicken dishes to a whole new level!
Baked Coconut Chicken Strips
Ingredients
Method
- Preheat the oven to 350°F and prepare a non-stick baking sheet by brushing it with olive oil.
- In a bowl, combine the flour, kosher salt, seasoned salt, and black pepper.
- In a separate bowl, whisk together the eggs and milk until well combined.
- In another bowl, mix the sweetened shredded coconut and panko together.
- Take each chicken tenderloin, dip it first into the flour mixture, then into the egg, and finally into the coconut-panko mixture, ensuring it's well coated.
- Place all coated chicken strips on the prepared baking sheet without overcrowding.
- Bake in the preheated oven for 15-18 minutes, or until the chicken is fully cooked, covering with aluminum foil if it starts to brown too quickly.
- For the optional dipping sauce, combine all sauce ingredients in a bowl and whisk until smooth. Serve alongside the chicken strips.