

The perfect snack can elevate any gathering, whether it’s movie night at home or a casual get-together with friends. Crispy, light, and bursting with flavor, homemade pita chips provide a delightful crunch that pairs beautifully with various dips. They embody the ideal combination of wholesome ingredients and simplicity, making them a fantastic choice for those busy weeknights or meal-prepping weekends. Imagine enjoying the warm embrace of freshly baked chips, lightly seasoned to perfection, as you unwind or entertain. Plus, making them at home means you can enjoy a healthier snack option without sacrificing taste. It’s a win-win!
Quick Answer
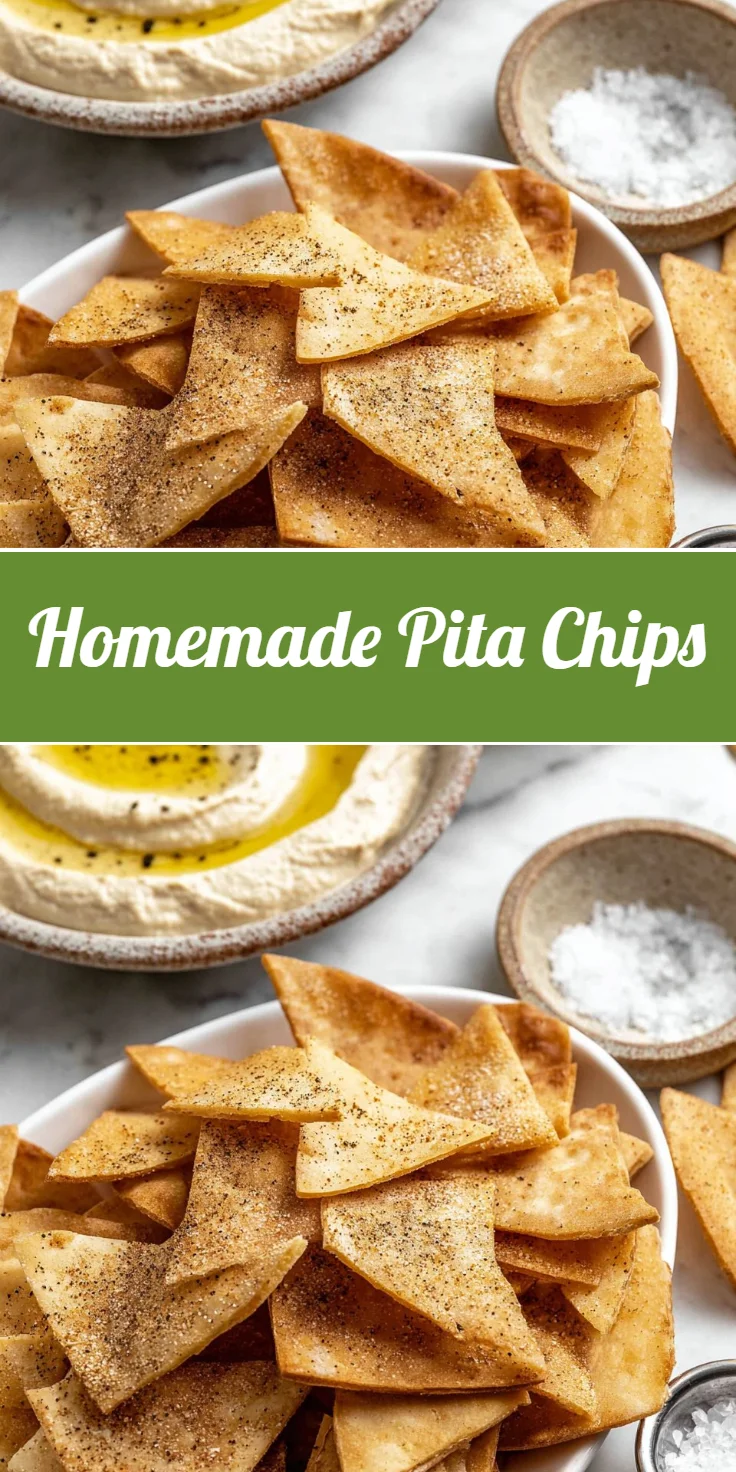
Homemade pita chips are crispy bites made from baked pita bread, seasoned to perfection. They are popular for their versatility as a healthier snacking option, ideal for families, health-conscious individuals, and any casual gathering.
Why You’ll Love This Recipe
This homemade pita chip recipe offers a delightful combination of flavors and textures, perfect for any occasion. They boast a satisfying crunch and are seasoned just right, providing that perfect bite every time. Plus, they’re quick to make, making them an excellent option for busy families and meal prep enthusiasts alike. The ability to store them for a week ensures you always have a tasty snack on hand.
- Quick and easy: They take minimal time to prepare and bake.
- Customizable: Adjust seasonings to suit your taste.
- Healthier snack: Made with wholesome ingredients, they’re a better alternative to store-bought chips.
- Perfect for sharing: Great for gatherings and parties.
- Meal prep friendly: Ideal for snack planning throughout the week.
- Versatile: Enjoy them with your favorite dips or on their own.
What Makes This Recipe Special
This recipe stands out for its simplicity and the ability to turn everyday ingredients into a gourmet snack. The golden crunch and the savory blend of garlic, sea salt, and spices combine to create a flavor explosion in every bite. The pita chips are not only easy to make but also lend themselves to endless variations. Whether you enjoy them plain or seasoned, they offer a satisfying experience, fulfilling both your cravings for comfort food and your desire for healthy snacking.
Kitchen Tools You’ll Need
- Baking sheet – Essential for even baking of the pita chips.
- Silicone mat or parchment paper – Prevents sticking and makes for easy cleanup.
- Small bowl – For mixing the seasoning blend.
- Brush or spray bottle – For applying the oil evenly on the pita chips.
Ingredients
- pita breads: The base for your chips, providing a sturdy and delightful crunch.
- garlic powder: Adds a savory depth and aromatic flavor to the chips.
- onion powder: Enhances the overall flavor profile with a subtle sweetness.
- ground black pepper: Offers a gentle kick and balances the flavors.
- paprika: Introduces a hint of smokiness and vibrant color.
- sea salt: Elevates all the flavors and enhances the seasoning.
- olive oil: Adds richness and helps achieve that crispy texture.
Ready to cook? Scroll to the recipe card below for exact measurements.
How to Make Homemade Pita Chips
Phase 1 – Prep
STEP 1. Preheat the oven. Set your oven to 400ºF/200ºC to prepare for baking.
STEP 2. Prepare the baking sheet. Line it with a silicone mat, parchment paper, or greased foil.
STEP 3. Slice the pita. Cut each pita bread into 8 triangles for the perfect chip shape.
Phase 2 – Cook
STEP 4. Arrange on the baking sheet. Spread the pita triangles out on the baking sheet so they don’t touch each other.
STEP 5. Mix the seasonings. In a small bowl, combine garlic powder, black pepper, paprika, and sea salt.
STEP 6. Oil and season one side. Spray or brush the chips with olive oil and sprinkle on half of the seasoning mix.
STEP 7. Flip and repeat. Turn the chips over, apply more oil, and sprinkle the remaining seasonings on top.
STEP 8. Bake the chips. Place in the oven and bake for about 8 minutes, checking at 6 minutes to rotate the pan if necessary.
STEP 9. Cool and enjoy. Remove from the oven and let the chips cool completely before serving.
Enjoy! You can store pita chips in an airtight tupperware container for up to a week (they will keep crispy).
Why This Recipe Works
This recipe is all about texture and flavor layering. The pita bread transforms into crispy chips through a quick bake, while the oil helps to achieve that desirable golden color. Each seasoning complements the others, with garlic boosting the savory notes and paprika adding an exciting depth. The method is straightforward, allowing you to make a large batch quickly, perfect for snacking or entertaining. This combination of cooking techniques and ingredient interactions results in an irresistibly crunchy snack that everyone will love.
Pro Tips for Best Results
- For extra flavor, consider adding other spices like cumin or cayenne pepper.
- Be sure to check for doneness, as ovens can vary; look for a golden-brown color.
- Using fresh pita bread rather than stale can yield a better texture.
- Try different oils, like avocado oil, for varied flavor profiles.
- Serve them warm for the best experience, or refresh in the oven for a couple of minutes if stored.
Common Mistakes to Avoid
Mistake: Overcrowding the baking sheet.
Why it happens: To maximize chip output, some may place too many on the sheet.
How to fix it: Ensure ample space between chips to promote even baking and crispiness.
Mistake: Not flipping chips during baking.
Why it happens: This step can be overlooked for simplicity.
How to fix it: Always flip them halfway through to ensure all sides crisp up evenly.
Mistake: Rushing the cooling process.
Why it happens: Eager to serve may lead to skipping this step.
How to fix it: Allow chips to cool completely to achieve lasting crispiness.
Recipe Variations
- Try different seasonings like Italian herbs or chili powder.
- Add nutritional yeast for a cheesy flavor without dairy.
- Use whole wheat pita for a healthier twist.
- Drizzle with lemon juice for a zesty kick.
- Mix finely chopped fresh herbs into the seasoning for added freshness.
Nutrition Highlights
| Nutrient | Per Serving |
|---|---|
| Protein | Low |
| Fiber | Moderate |
| Carbohydrates | Moderate |
| Healthy Fats | Provided by olive oil |
| Calories | Calorie-conscious option |
How to Serve Homemade Pita Chips
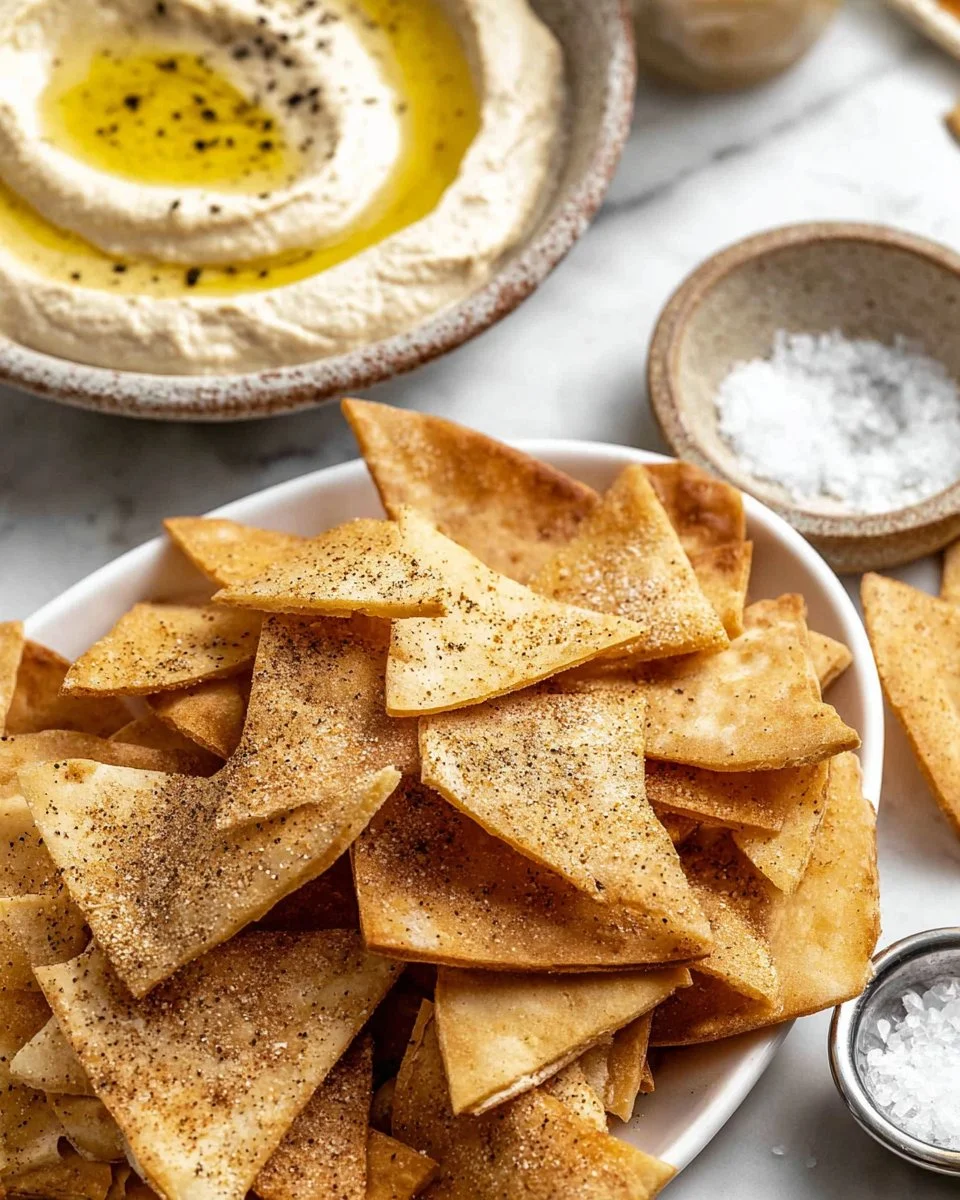
- Pair with hummus for a classic combination.
- Serve alongside tzatziki for a refreshing dip.
- Top with a sprinkle of feta cheese and cucumber for a Mediterranean flair.
- Arrange on a platter with a variety of dips for parties.
- Present in a tall basket for a stylish look.
Best Occasions for This Recipe
- Weeknight dinners paired with salads or soups.
- Holiday gatherings as a light appetizer.
- Meal prep for healthy snacks throughout the week.
- Family gatherings to satisfy all ages.
- Potlucks where homemade contributions are welcome.
Make Ahead & Storage
Can This Be Meal Prepped
Yes, these pita chips can be made ahead of time and stored for later snacking.
Storing Leftovers
Store cooled chips in an airtight container at room temperature. They remain crispy for up to a week.
Freezing
While these chips are best fresh, they can be frozen in an airtight container. Recrisp in the oven before serving.
Reheating
For best results, warm the chips in an oven at 350ºF for about 5 minutes to restore their crunch.
Creative Ways to Use Leftovers
- Use in wraps for added crunch.
- Create layered bowls with dips and toppings.
- Add to salads for extra texture.
- Incorporate into lunch boxes for healthy snacks.
FAQs
How do I store homemade pita chips?
Store in an airtight container at room temperature for up to a week to maintain crispiness.
Can I use whole wheat pita bread?
Absolutely! Whole wheat pita will give your chips a nuttier flavor and additional fiber.
How do I get my pita chips extra crispy?
Ensure they are spread out on the baking sheet and check them towards the end of baking for golden color.
What dips go well with pita chips?
Hummus, tzatziki, or guacamole are fantastic choices to complement the chips.
Can I bake pita chips in an air fryer?
Yes! Air fry at 350ºF for about 6-8 minutes, shaking halfway through for even cooking.
Save This Recipe for Later
If you’re excited to try these homemade pita chips, be sure to save this recipe to your Pinterest board or bookmark for easy access later!
Final Thoughts
Crispy, savory, and incredibly satisfying, this recipe is your ticket to a delightful snack experience. Not only are these homemade pita chips easy to prepare, but they also provide a deliciously healthy option for family gatherings or quiet evenings at home. Don’t forget to explore related recipes and enjoy this culinary adventure!

Homemade Pita Chips
Ingredients
Method
- Preheat the oven to 400ºF (200ºC).
- Line a baking sheet with a silicone mat, parchment paper, or greased foil.
- Cut each pita bread into 8 triangles.
- Spread the pita triangles out on the baking sheet, ensuring they don’t touch each other.
- In a small bowl, combine garlic powder, black pepper, paprika, and sea salt.
- Spray or brush the chips with olive oil and sprinkle half of the seasoning mix on one side.
- Turn the chips over, apply more oil, and sprinkle the remaining seasonings on top.
- Bake for about 8 minutes, checking at 6 minutes to rotate the pan if necessary.
- Remove from the oven and let the chips cool completely before serving.