
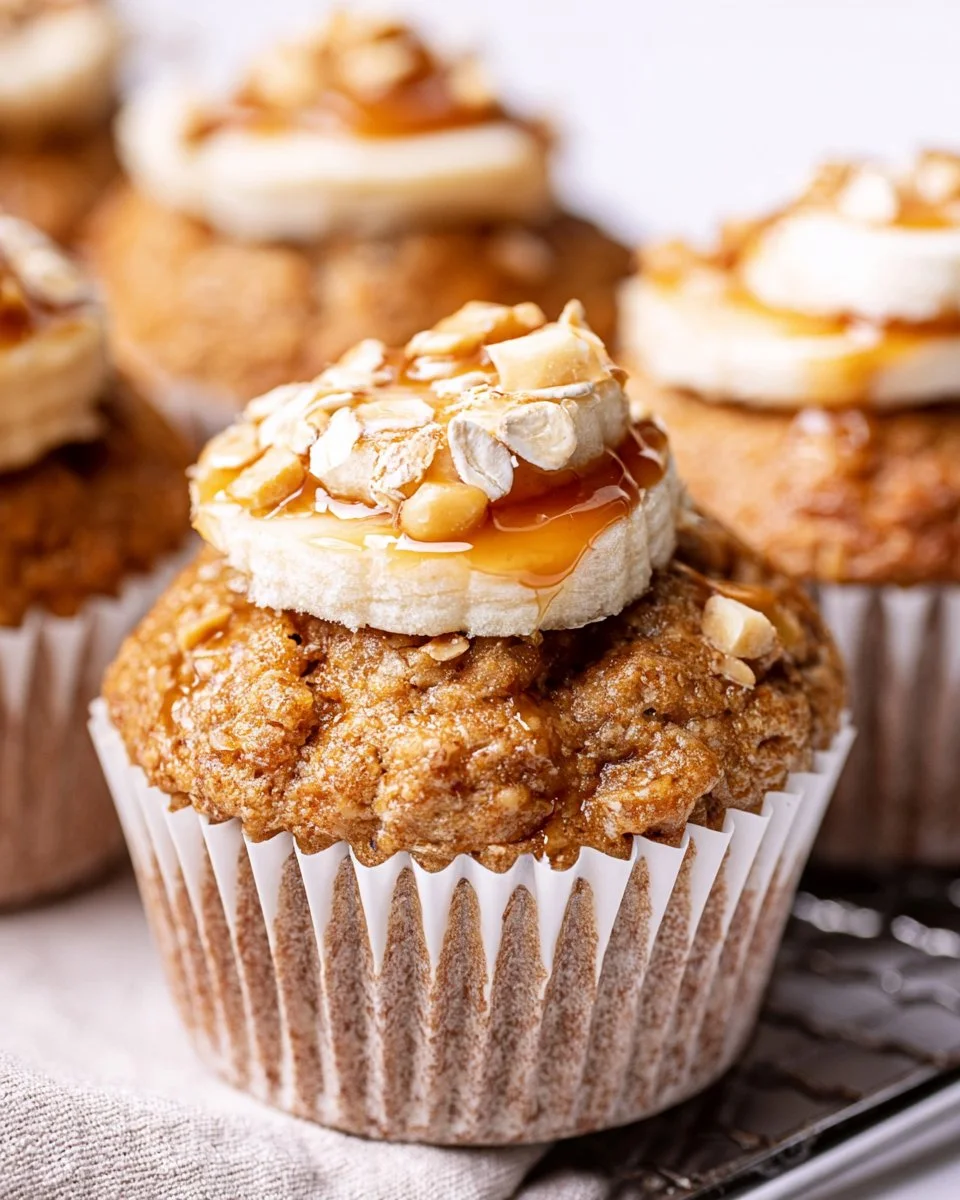
Imagine a warm, comforting kitchen filled with the sweet aroma of freshly baked muffins, a treat that not only satisfies your cravings but also nourishes your body. The combination of creamy peanut butter and ripe bananas creates a delightful flavor that dances on your taste buds. These muffins are perfect for busy mornings or a quick snack, making them an ideal choice for families and health-conscious individuals alike.
With a soft and moist texture, each bite reveals the natural sweetness of the bananas and the rich creaminess of peanut butter, accentuated by a hint of honey or maple syrup. Whether you’re planning for a leisurely breakfast or prepping snacks for on-the-go, this recipe conveniently fits into your busy lifestyle, offering a nutritious option that keeps everyone energized throughout the day.
Quick Answer
Peanut Butter Banana Muffins are fluffy, wholesome pastries made from ripe bananas and creamy peanut butter. This recipe is popular for its enticing flavor, healthy ingredients, and family-friendly nature, making it a perfect choice for busy mornings or snack time.
Why You’ll Love This Recipe
This recipe is not just a crowd-pleaser, but also a healthy addition to your meal repertoire. The harmonious blend of peanut butter and banana creates a pleasing taste profile while offering nutrition that can boost your energy.
- Rich in protein and healthy fats for sustained energy.
- Perfectly sweetened with natural ingredients.
- Moist and fluffy texture that kids will love.
- Easy to whip up for busy mornings or snack time.
- Meal prep-friendly; make a batch and enjoy all week!
- Uses ingredients you likely already have on hand.
- Versatile for various dietary adjustments.
What Makes This Recipe Special
One of the standout features of these muffins is their incredible softness and moistness, thanks to the combination of bananas and Greek yogurt. The natural sweetness from the ripe bananas paired with peanut butter results in a delightful flavor balance that perfectly satisfies sweet cravings without overwhelming sugar. Plus, this recipe utilizes simple, wholesome ingredients that are packed with nutritional benefits, creating an emotional connection to home baking that many people cherish.
Kitchen Tools You’ll Need
- Muffin Tin – Essential for baking and shaping your muffins.
- Mixing Bowls – For combining your wet and dry ingredients.
- Whisk – Perfect for ensuring a smooth batter without lumps.
- Potato Masher or Fork – For mashing the bananas to a smooth consistency.
- Spatula – Ideal for folding the batter gently without over-mixing.
Ingredients
ripe bananas: Provide natural sweetness and moisture.
plain Greek yogurt: Adds protein and creaminess, enhancing texture.
grass-fed butter (ghee or unrefined coconut oil): Contributes richness and a wholesome flavor.
raw honey or pure maple syrup: Natural sweeteners that enhance flavor.
eggs: Bind the ingredients together and create a tender crumb.
vanilla extract: Adds a warm aromatic flavor that complements the other ingredients.
smooth peanut butter: Provides creaminess and a rich peanut flavor.
oat flour or ground oats: Delivers a hearty texture and is a gluten-free alternative.
baking soda: Acts as a leavening agent for light muffins.
baking powder: Helps the muffins rise properly for a fluffy texture.
fine sea salt: Balances the sweetness and enhances all the flavors.
Ready to cook? Scroll to the recipe card below for exact measurements.
How to Make Peanut Butter Banana Muffins
STEP 1. Preheat the oven. Set your oven to 325°F and line a twelve-spot muffin tin with silicone or paper cup liners.
STEP 2. Mash the bananas. In a medium bowl, mash the spotted bananas until smooth using a potato masher or fork.
STEP 3. Mix wet ingredients. Add the Greek yogurt, softened butter/ghee, raw honey, eggs, vanilla extract, and peanut butter to the bowl, stirring until well combined.
STEP 4. Combine dry ingredients. In a small bowl, whisk together the oat flour, baking soda, baking powder, and fine sea salt until fully integrated.
STEP 5. Add flour mixture to wet mixture. Gently fold the dry ingredients into the wet mixture using a spatula until there are no visible lumps, being careful not to over-mix.
STEP 6. Fill the muffin tin. Evenly divide the batter into your prepared muffin tin, filling each spot.
STEP 7. Bake the muffins. Place in the center of the oven and bake for 25 minutes, or until a toothpick inserted into the center comes out clean.
STEP 8. Cool and decorate. Once baked, drizzle with extra peanut butter and, if desired, decorate with banana slices.
STEP 9. Store leftovers. Refrigerate any muffins in a sealed container; they will stay good for 4 days. Enjoy them toasted with grass-fed butter or additional peanut butter!
Why This Recipe Works
The balance of flavors in Peanut Butter Banana Muffins is created by the sweet, earthy bananas merging effortlessly with the creamy richness of peanut butter. The combination of baking soda and baking powder ensures a rise that results in a fluffy texture, while the Greek yogurt keeps them moist. These muffins are easy to prepare and incorporate healthy ingredients, making them appealing for those looking to nourish their families without spending hours in the kitchen. The gentle heat of baking enhances the natural sweetness of the bananas and creates a rich golden color that makes them irresistible.
Pro Tips for Best Results
- Ensure your bananas are very ripe for maximum sweetness and flavor.
- Let the eggs sit at room temperature for better mixing and consistency.
- Don’t over-mix the batter; this can lead to dense muffins.
- Consider adding chocolate chips or nuts for extra texture and flavor.
- Store muffins in a sealed container to maintain moisture and freshness.
Common Mistakes to Avoid
Mistake: Using under-ripe bananas.
Why it happens: Many people opt for bananas that are still yellow.
How to fix it: Use bananas that are heavily speckled with brown spots for the best sweetness.
Mistake: Over-mixing the batter.
Why it happens: Wanting a completely smooth mixture can lead to over-mixing.
How to fix it: Mix until just combined and no flour pockets remain.
Mistake: Not checking for doneness.
Why it happens: Relying solely on time can lead to underbaked or overbaked muffins.
How to fix it: Insert a toothpick into the center; it should come out clean when done.
Mistake: Skipping the cooling step.
Why it happens: Impatience to enjoy fresh muffins.
How to fix it: Allow muffins to cool slightly in the pan before transferring to a wire rack.
Recipe Variations
- Substitute almond butter for peanut butter for a nut allergy-friendly version.
- Add a handful of chocolate chips for a sweeter treat.
- Mix in chopped nuts for extra crunch.
- Use flaxseed meal instead of eggs for a vegan option.
- Add spices like cinnamon or nutmeg for additional flavor.
Nutrition Highlights
| Nutrient | Per Serving |
|---|---|
| Protein | 5g |
| Fiber | 2g |
| Carbohydrates | 25g |
| Healthy Fats | 8g |
| Calories | 180 |
How to Serve Peanut Butter Banana Muffins
- Pair with a warm cup of coffee for a delightful breakfast.
- Serve alongside fresh fruit for a balanced snack.
- Top with a dollop of yogurt for added creaminess.
- Drizzle with honey or pure maple syrup for extra sweetness.
Best Occasions for This Recipe
- Busy weekday breakfasts.
- Cozy family brunches.
- After-school snacks for kids.
- Potlucks and gatherings.
- Holidays as a healthier treat option.
Make Ahead & Storage
Can This Be Meal Prepped
Yes! These muffins are perfect for meal prep. Bake a batch at the beginning of the week, and refrigerate them for quick grab-and-go breakfasts.
Storing Leftovers
Store leftovers in a sealed container in the refrigerator for up to four days. Reheat in the microwave or toaster for a warm treat.
Freezing
To freeze, wrap individual muffins tightly in plastic wrap and place them in a freezer bag. They can last up to three months!
Reheating
Reheat muffins in the microwave for about 15-20 seconds or toast them for a crispy exterior.
Creative Ways to Use Leftovers
Leftover muffins can be creatively transformed into:
- Breakfast wraps with eggs and veggies.
- Packed lunch bowls with yogurt and fruit toppings.
- Sandwiches with nut butter and jelly.
- Snack boxes for kids with cheese and fruit.
FAQs
Can I use frozen bananas in this recipe?
Yes, just thaw them and drain any excess liquid before using.
How long will these muffins last?
Stored in a sealed container, they last about 4 days in the fridge.
Can I substitute oat flour with regular flour?
Yes, all-purpose flour can be used, but it may alter the texture slightly.
How do I ensure my muffins rise properly?
Make sure your baking powder and baking soda are fresh to guarantee a good rise.
Can I add ingredients like chocolate chips or nuts?
Absolutely! They can enhance texture and flavor to your muffins.
Save This Recipe for Later
If you love this recipe, be sure to save it on Pinterest or bookmark it for easy access later. Sharing with friends and family ensures everyone can enjoy these delightful muffins!
Final Thoughts
Choosing to make these muffins means treating yourself and your family to a flavorful, nutritious snack that can brighten any day. Enjoy the rich, comforting taste of peanut butter and bananas, and don’t hesitate to save this recipe for your next meal prep or family breakfast!
Peanut Butter Banana Muffins
Ingredients
Method
- Preheat the oven to 325°F and line a muffin tin with silicone or paper cup liners.
- In a medium bowl, mash the ripe bananas until smooth using a potato masher or fork.
- Add Greek yogurt, softened butter/ghee, raw honey, eggs, vanilla extract, and peanut butter to the bowl, and stir until well combined.
- In a small bowl, whisk together oat flour, baking soda, baking powder, and fine sea salt until fully integrated.
- Gently fold the dry ingredients into the wet mixture with a spatula until there are no visible lumps, being careful not to over-mix.
- Evenly divide the batter into the prepared muffin tin, filling each cup.
- Bake for 25 minutes, or until a toothpick inserted into the center comes out clean.
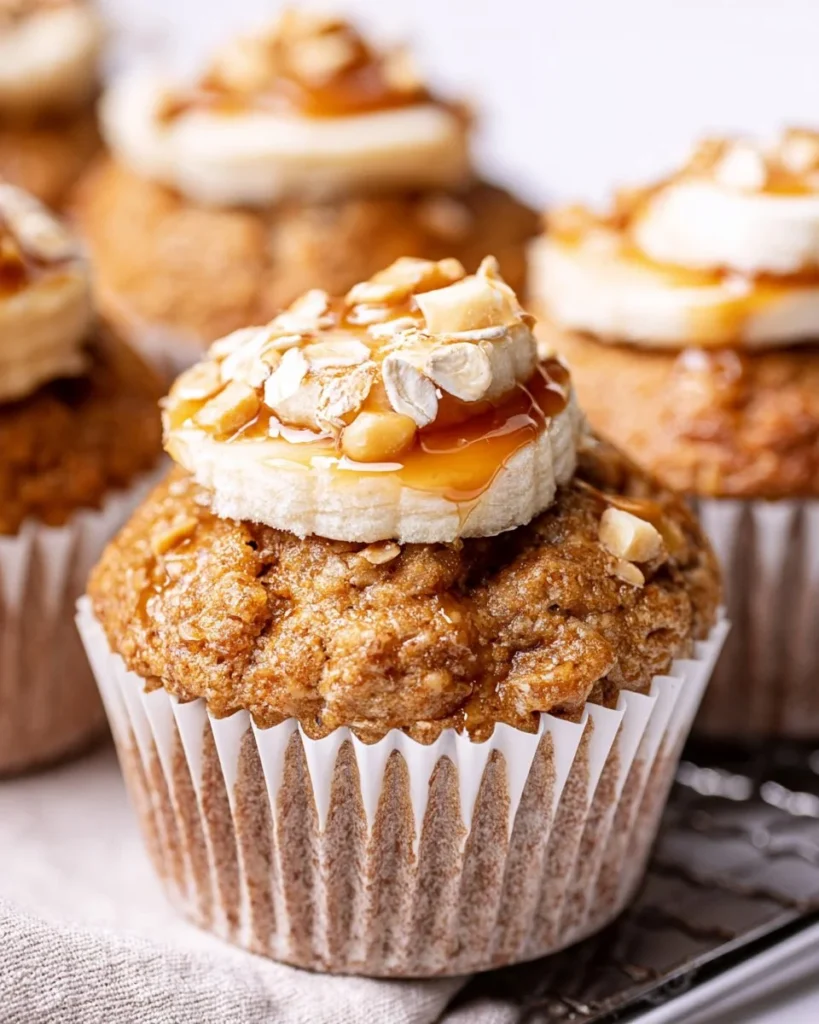
- Once baked, drizzle with extra peanut butter and decorate with banana slices if desired.
- Refrigerate any leftovers in a sealed container; they will stay good for 4 days.