
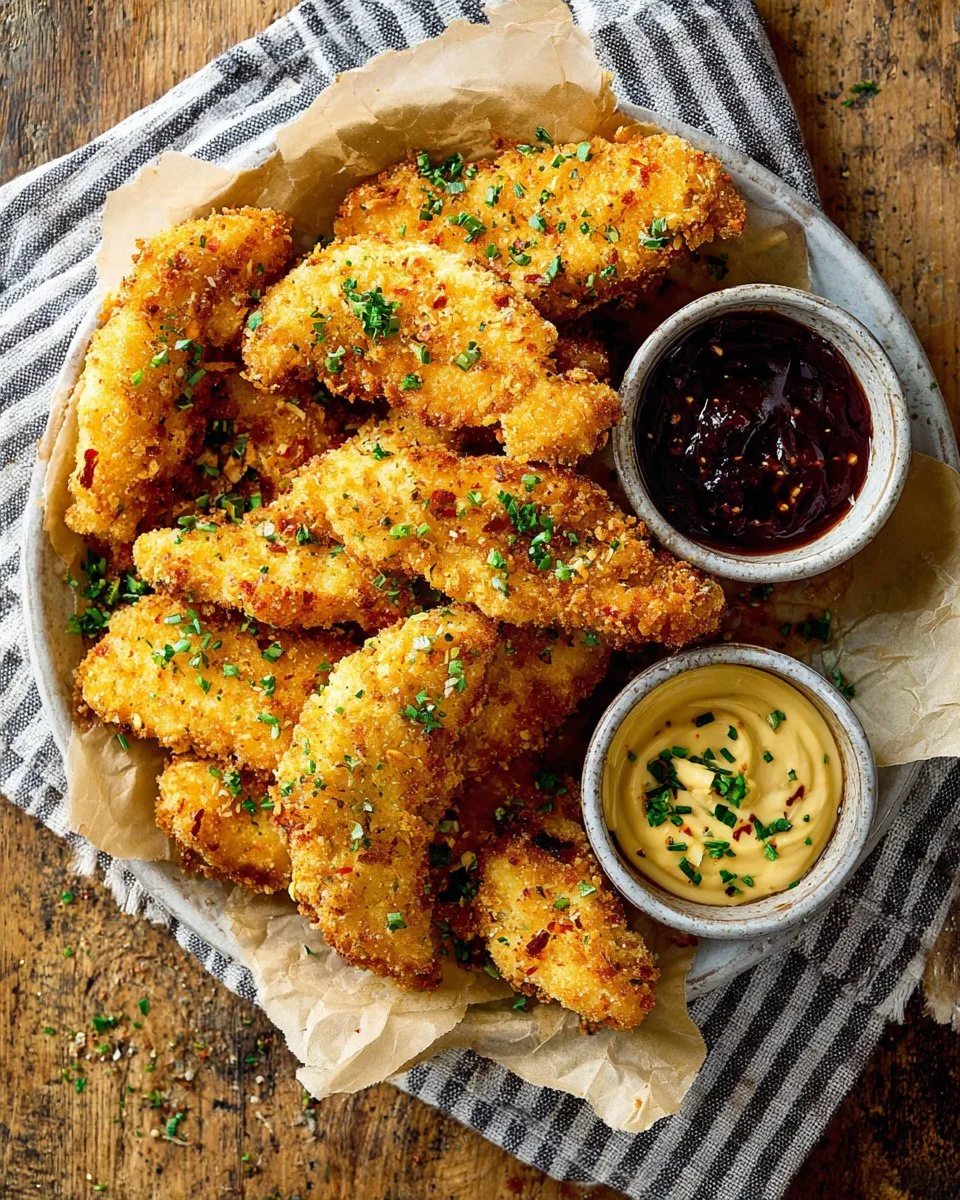
There’s something incredibly satisfying about biting into a crispy, juicy chicken tender. They evoke a sense of comfort and nostalgia, often reminding us of family gatherings and indulgent meals. These chicken tenders are not just your ordinary fried fare; they offer a delightful crunch from the panko coating and a juicy interior that is simply irresistible. Perfect for dipping in your choice of sauces, they’re versatile enough for a quick family dinner, a fun party appetizer, or even a meal prep item for busy weekdays.
Imagine the aroma wafting through your kitchen, the sizzling sounds as they bake, and the anticipation of that first crispy bite. These tenders are simple to make, requiring everyday ingredients while packing a flavorful punch. Whether you pair them with ketchup, BBQ sauce, or honey mustard, they’re sure to be a hit. So, if you’re ready to impress family and friends with a homemade classic that’s both healthy and delicious, keep reading!
Quick Answer
These homemade chicken tenders are a healthy twist on a classic favorite, featuring a crispy panko coating and seasoned chicken, perfect for any meal or snack!
Why You’ll Love This Recipe
This chicken tender recipe is a standout for many reasons:
- Homemade Goodness: Enjoy the satisfaction of making these tenders from scratch.
- Healthier Option: Baked rather than fried, making them a lighter choice for meals.
- Customizable Dips: Serve with any sauce you love, from ranch to BBQ.
- Family-Friendly: A hit with both kids and adults, perfect for family dinners.
- Quick to Make: Simple preparation with minimal fuss, great for a weeknight.
- Meal Prep Friendly: Can be made ahead and stored for easy meals throughout the week.
What Makes This Recipe Special
This recipe combines the crunch of panko and the tenderness of well-seasoned chicken tenders to create a balanced and satisfying dish. The combination of flour and cornstarch in the breading adds the perfect texture, ensuring that every bite is crispy yet light. The seasoning blend, featuring smoked paprika, garlic powder, and onion powder, elevates the flavor profile, making these tenders stand out. Baking the chicken rather than frying significantly reduces the fat content while still providing that satisfying crunch. This method not only contributes to healthier eating habits but also simplifies the cooking process, making it easier to serve up a delicious meal that doesn’t feel like a compromise.
Kitchen Tools You’ll Need
- Large Baking Sheet – To hold the chicken tenders during baking.
- Wire Rack – Allows air to circulate for even crispiness.
- Shallow Bowls – For breading the chicken in different stages.
- Nonstick Cooking Spray – Keeps the tenders from sticking and aids in browning.
- Whisk – For mixing the egg wash smoothly.
Ingredients
all-purpose flour: Provides the base coating that helps the panko adhere to the chicken.
cornstarch: Adds extra crispness to the coating.
smoked paprika or paprika: Adds depth and a subtle smokiness to the flavor.
kosher salt: Enhances the overall taste of the chicken.
garlic powder: Infuses a savory flavor into the tenders.
onion powder: Complements the garlic and adds a hint of sweetness.
black pepper: Provides a subtle heat and contrast to the other flavors.
eggs: Acts as a binding agent to help the breading stick.
water: Thins the egg mixture for easier coating.
panko: Creates a light and crispy texture on the outside of the tenders.
chicken tenders: The star of the dish, providing a tender and juicy protein source.
Optional sauces: Enhance dipping flavors, making the dish customizable.
Ready to cook? Scroll to the recipe card below for exact measurements.
How to Make Chicken Tenders
Phase 1 – Prep
STEP 1. Preheat the oven. Heat to 400 degrees F.
STEP 2. Prepare baking sheet. Line a large baking sheet with a wire rack and spray it with nonstick cooking spray.
STEP 3. Season chicken. Lightly season the chicken tenders with salt and pepper.
STEP 4. Prepare breading station. In three shallow bowls, combine flour, cornstarch, paprika, salt, garlic powder, onion powder, and pepper in the first bowl; beat eggs and water in the second bowl; and place panko in the third bowl.
Phase 2 – Cook
STEP 5. Dredge chicken. Coat the chicken tenders first in the flour mixture, then dip in the egg mixture, and finally coat with panko.
STEP 6. Arrange chicken. Place the coated chicken tenders on the wire rack, ensuring they are not touching.
STEP 7. Spray chicken. Lightly spray the chicken tenders with cooking spray.
STEP 8. Bake. Bake in the preheated oven for 10 minutes.
STEP 9. Flip and spray again. After 10 minutes, flip the tenders over, spray again, and bake for an additional 5 to 10 minutes until cooked through.
STEP 10. Broil for crispiness. If desired, broil for 2 minutes for extra crispiness.
Phase 3 – Serve
STEP 11. Serve warm. Enjoy the tenders warm with your choice of dipping sauces.
Why This Recipe Works
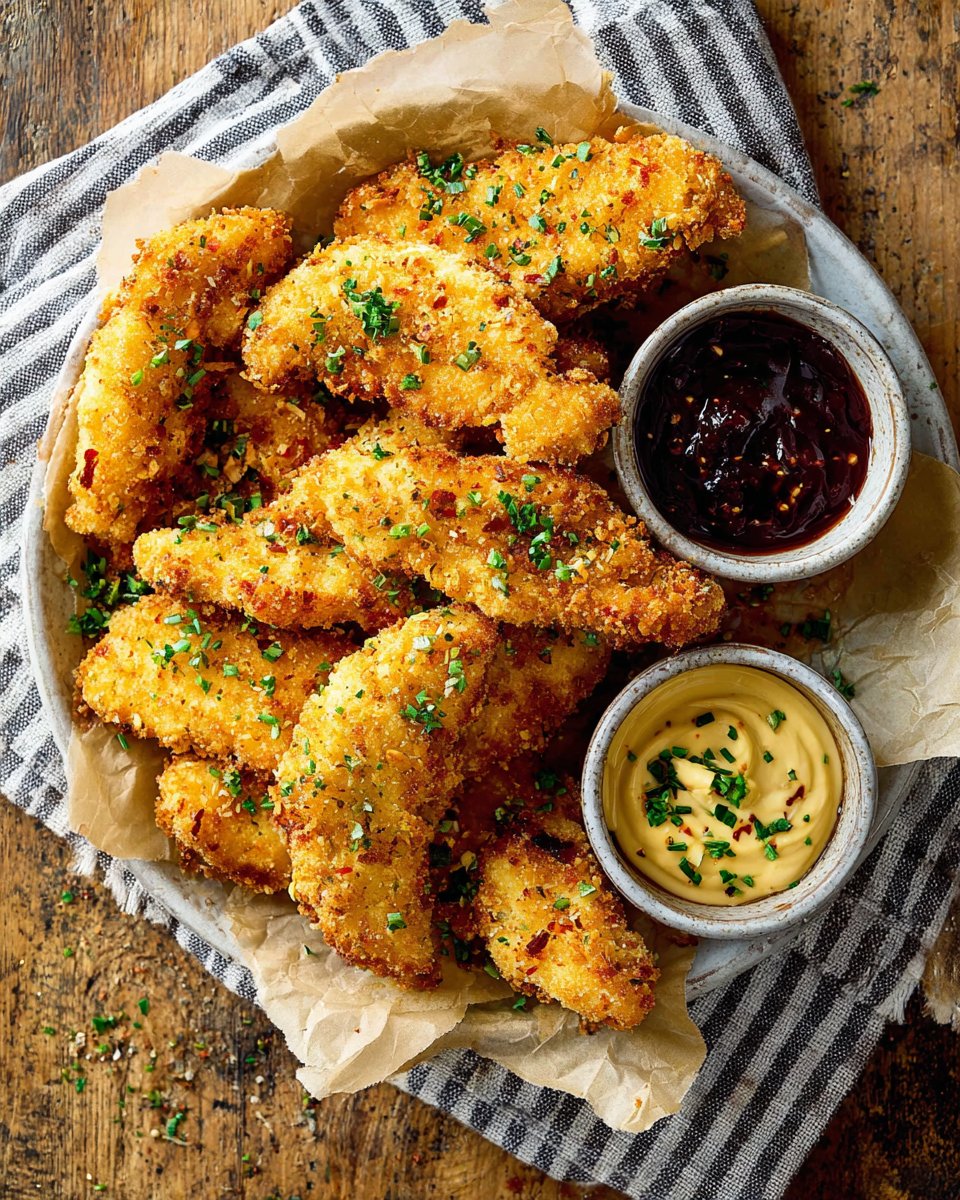
The combination of baking and the panko breadcrumb coating creates an ideal texture that is both crunchy and moist. The panko flakes are lighter than traditional breadcrumbs, allowing for an enjoyable crispness without excess oil. The seasoning used in the coating not only elevates the chicken’s natural flavor but also enhances the overall eating experience with each bite, ensuring that they are flavorful and satisfying. Baking the chicken tenders in the oven makes this recipe convenient by reducing the need for constant supervision while frying, giving you perfectly cooked tenders every time.
Pro Tips
For perfectly crispy chicken tenders, be sure to follow these tips:
- Use a wire rack: This allows hot air to circulate around the chicken, ensuring all sides get crispy.
- Don’t crowd the baking sheet: Keep the tenders spaced out, as touching can lead to steaming rather than crisping.
- Experiment with spices: Feel free to add your favorite spices to the flour mixture for more depth of flavor.
- Check for doneness: Ensure the chicken reaches a safe internal temperature for the best result.
- Let them rest: Allow the tenders to rest briefly after baking to maintain their juiciness.
Common Mistakes to Avoid
Mistake: Not using enough seasoning.
Why it happens: It’s easy to overlook seasoning, but it’s vital for flavor.
How to fix it: Make sure to follow the seasoning amounts in the recipe for a balanced taste.
Mistake: Crowding the baking sheet.
Why it happens: When too many tenders are on one sheet, they can touch and steam each other.
How to fix it: Bake in batches if necessary to ensure they can each get crispy.
Mistake: Skipping the broiling step.
Why it happens: Some may think baking is good enough.
How to fix it: Broil briefly at the end for extra crunch that elevates the texture.
Variations
- Spice it up with cayenne or chili powder for a spicy kick.
- Add grated Parmesan cheese to the panko for a cheesy flavor.
- Coat with crushed nuts instead of panko for added crunch and flavor.
- Try different dips such as sriracha mayonnaise or garlic aioli.
- Paint the tenders with a little honey before baking for a sweet glaze.
Nutrition Highlights
| Nutrient | Role |
|---|---|
| Protein | Helps support satiety and balanced meals. |
Serving Ideas
Pair your chicken tenders with a fresh side salad for a balanced meal, or serve them alongside crispy sweet potato fries for a delicious twist. They also make excellent tacos when placed in warm tortillas topped with avocado and pico de gallo. For gatherings, create a dipping bar with an array of sauces, ensuring there’s something for everyone’s taste.
Best Occasions for This Recipe
These chicken tenders are perfect for casual weeknight dinners, game day parties, and playdates. Their adaptable nature makes them suitable for any occasion, from birthday parties to family movie nights. Feel free to make them a part of your regular meal rotation for an easy, comforting dish.
Meal Prep & Storage
Meal Prep
These chicken tenders can be prepped ahead for busy days. Bread the chicken tenders, and keep them in the refrigerator for a couple of hours before baking.
Refrigeration
Store leftovers in an airtight container in the refrigerator for up to three days. Reheat them in the oven to maintain crispness.
Freezing
To freeze, place the cooked chicken tenders in a single layer on a baking sheet to freeze, then transfer to an airtight container for up to three months.
Reheating
To reheat, place the tenders back in a preheated oven at 400°F until warmed through, about 10 minutes for best results.
FAQs
Can I use chicken breasts instead of tenders?
Yes, you can cut chicken breasts into strips to use in place of tenders.
How do I store leftovers?
Keep leftovers in an airtight container in the refrigerator for up to three days.
Can I bake these without a wire rack?
Yes, but the tenders may not be as crispy. Just place them directly on the baking sheet.
What dipping sauces pair well with chicken tenders?
Sauces like ketchup, BBQ sauce, honey mustard, and ranch are all great options.
How do I make these gluten-free?
Substitute the all-purpose flour with a gluten-free flour blend and use gluten-free panko for the coating.
Save This Recipe for Later
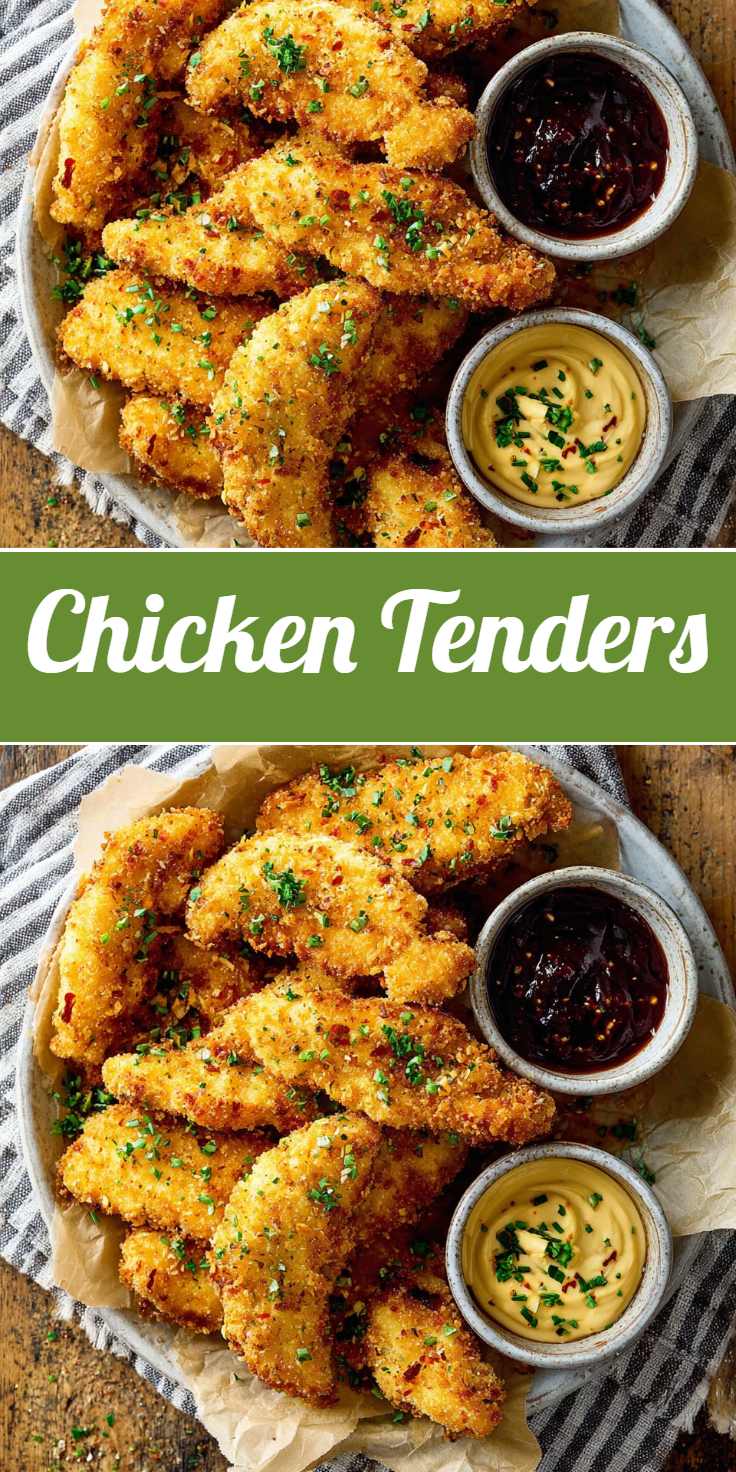
Pin this recipe to your favorite Pinterest board or bookmark it for quick access whenever you need a delicious chicken tender fix!
Conclusion
With their irresistible crunch and juicy center, it’s easy to see why chicken tenders are a beloved dish. This recipe allows you to whip up a quick and healthy version that the whole family can enjoy, proving that comfort food can also be wholesome. So gather your ingredients, put on some good music, and get ready to create a chicken tender experience like none other!
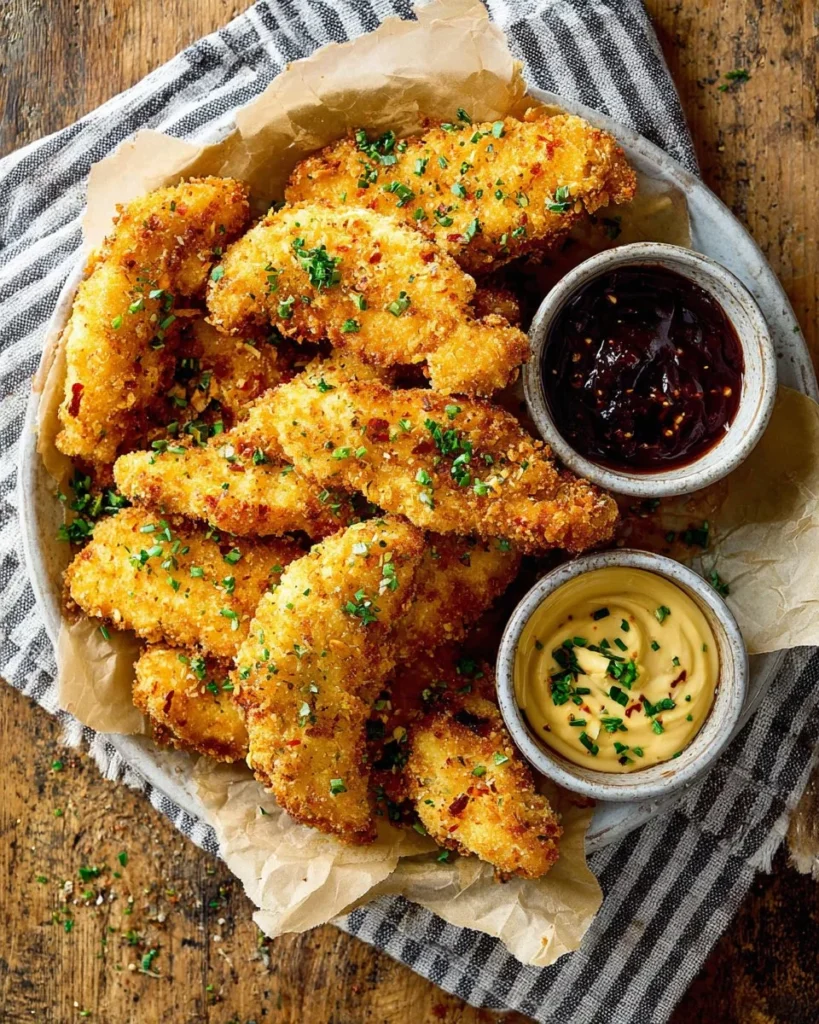
Crispy Baked Chicken Tenders
Ingredients
Method
- Preheat the oven to 400°F (200°C).
- Line a large baking sheet with a wire rack and spray it with nonstick cooking spray.
- Lightly season the chicken tenders with salt and pepper.
- Prepare the breading station: In the first bowl, combine flour, cornstarch, paprika, salt, garlic powder, onion powder, and pepper; in the second bowl, beat the eggs and water; and in the third bowl, place panko.
- Dredge chicken: Coat the tenders first in the flour mixture, then dip in the egg mixture, and finally coat with panko.
- Arrange the coated chicken tenders on the wire rack, ensuring they are not touching.
- Lightly spray the chicken tenders with cooking spray.
- Bake in the preheated oven for 10 minutes.
- After 10 minutes, flip the tenders, spray again, and bake for an additional 5 to 10 minutes until cooked through.
- If desired, broil for 2 minutes for extra crispiness.
- Serve warm with your choice of dipping sauces.