
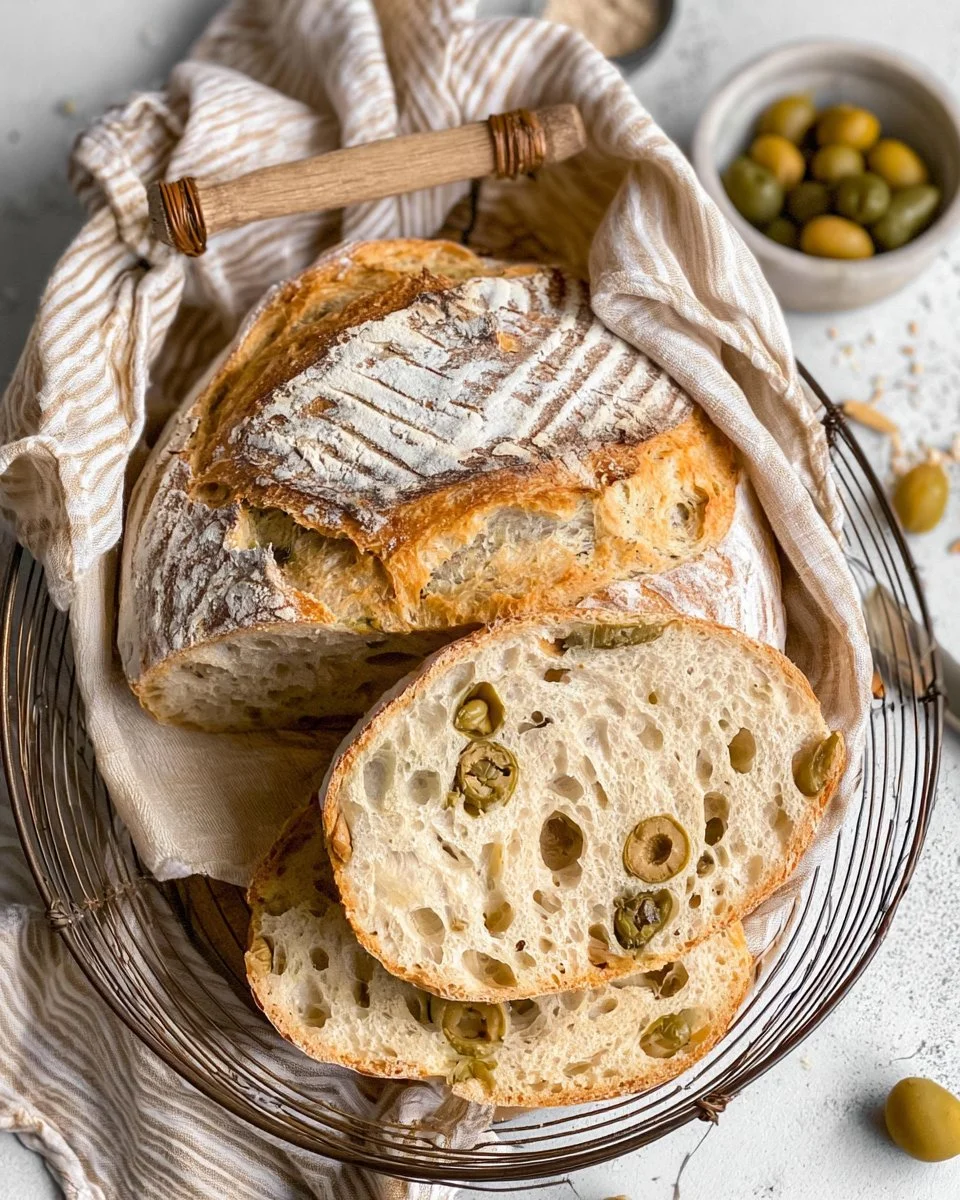
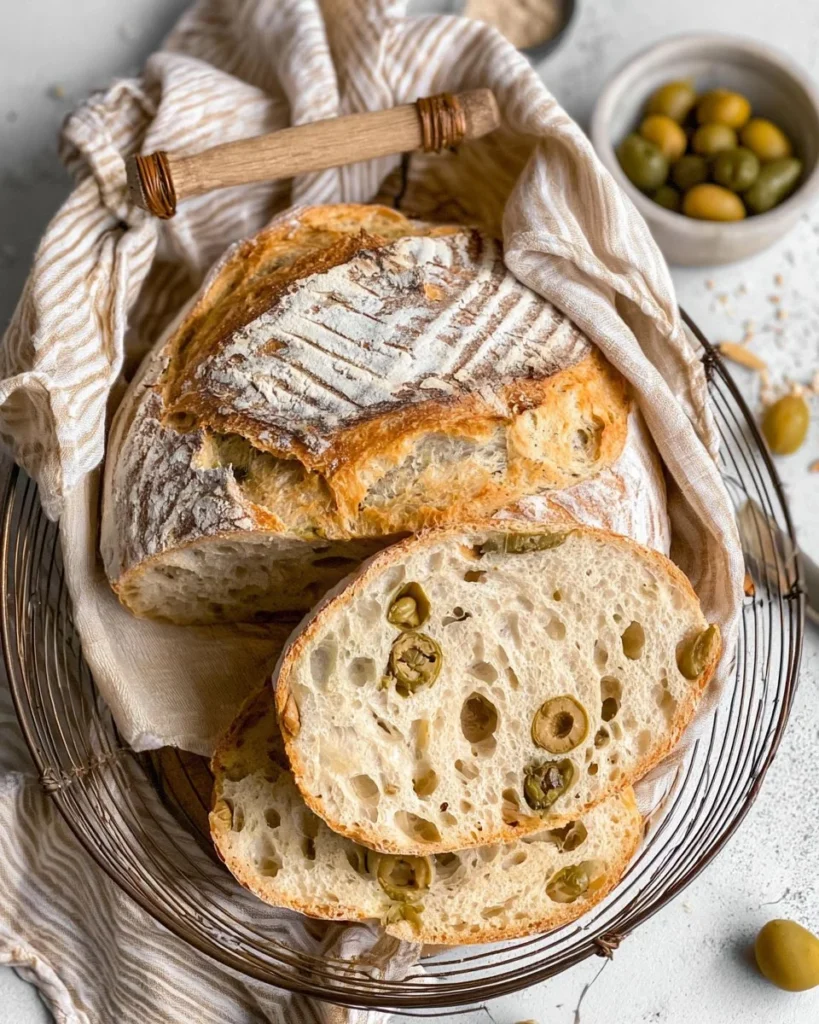
There’s something comforting about the aroma of freshly baked bread wafting through your home. Olive bread, with its robust flavor and delightful texture, has become a cherished favorite for gatherings and casual dinners alike. This easy no-knead olive bread recipe delivers a crispy crust, a tender interior, and bursts of flavor from the pimento olives. Perfect for busy families, health-conscious home cooks, and meal prep enthusiasts, this bread can elevate any meal or serve as a standalone snack. Imagine biting into a warm, pillowy slice, possibly slathered with butter or dipped into olive oil, making it an irresistible treat for any occasion.
Quick Answer
Olive bread is a flavorful, crusty loaf that’s packed with pimento olives, making it a delicious addition to any meal. Its no-knead preparation is perfect for busy lifestyles, and its delightful taste appeals to families and home cooks alike.
Why You’ll Love This Recipe
This no-knead olive bread is a game changer in the kitchen, combining ease with exquisite flavor. The dough rises effortlessly, allowing ingredients to meld over time, resulting in a well-balanced taste. The subtle sweetness from maple syrup and the savory tang of olives create a delightful harmony. Moreover, this bread is versatile, great for meal prep, and can accompany various dishes.
- Flavorful and savory from olives.
- Crispy crust with a soft, airy interior.
- Perfect for busy meal prep schedules.
- Great for family gatherings or cozy dinners.
- Can be enjoyed fresh or toasted.
- Adaptable with different types of olives or additions.
- Simple preparation with no kneading required.
What Makes This Recipe Special
This recipe stands out due to its remarkable texture and flavor profile. The use of a Dutch oven allows for even cooking and crispy edges that are hard to replicate elsewhere. The blend of warm water and maple syrup activates the yeast effectively, resulting in a consistently airy texture. Each bite offers a satisfying contrast between the crusty exterior and the soft, flavorful center. Plus, the no-knead approach removes the intimidation often associated with bread baking, inviting home cooks of various skill levels to give it a try.
Kitchen Tools You’ll Need
- Large Bowl – For mixing the dough ingredients together.
- Dutch Oven – Essential for achieving the perfect crust and texture.
- Parchment Paper – Helps to transfer the dough easily and prevents sticking.
- Dough Scraper – Useful for folding and shaping the dough.
- Kitchen Towel – To cover the dough while it rises.
Ingredients
all purpose flour: Provides the foundation for the bread’s structure.
instant yeast: Activates rapidly, ensuring a good rise without long fermentation.
sea salt: Enhances flavor and controls yeast activity.
very warm water: Activates yeast and helps with dough consistency.
maple syrup, agave or granulated sugar: Adds a hint of sweetness that balances the olives.
olive oil or any oil: Contributes moisture and richness to the dough.
pimento olives: Infuses the bread with a savory flavor and a delightful texture.
Ready to cook? Scroll to the recipe card below for exact measurements.
How to Make Olive Bread – No Knead Recipe
STEP 1. Mix dry ingredients. In a very large bowl, whisk the flour, yeast, and salt until well combined.
STEP 2. Add wet ingredients. Create a well in the center and pour in the warm water, maple syrup, and olive oil.
STEP 3. Form the dough. Stir the mixture until it forms a shaggy, incorporated dough with the olives evenly distributed, about 1 minute.
STEP 4. Prepare for rising. Lightly grease the bowl’s sides, turn the dough in it to grease, and cover with plastic wrap or a kitchen towel.
STEP 5. Let it rise. Allow the dough to rise at room temperature for 2 to 3 hours until doubled in size.
STEP 6. Preheat the oven. During the last 30-40 minutes of rising, place your Dutch oven in the oven and preheat to 450°F/230°C.
STEP 7. Flour the surface. After the dough has risen, flour a clean surface and pour the dough onto it, sprinkling more flour on top as needed.
STEP 8. Fold the dough. Using a dough scraper or knife, fold the dough over itself several times until it feels tighter and holds shape, about 6 to 12 times.
STEP 9. Shape the bread. Transfer the dough to parchment paper and shape it into a circle, slitting the top for a decorative design if desired.
STEP 10. Bake the bread. Carefully place the dough into the preheated Dutch oven, cover with the hot lid, and bake for 45 minutes.
STEP 11. Finish baking. Remove the lid and continue baking for another 15 to 20 minutes until the crust is golden brown.
STEP 12. Cool the bread. Remove from the oven, transfer to a wire rack, and cool completely before slicing, about 30 minutes.
Why This Recipe Works
The key to this olive bread’s delightful results lies in the no-knead method, allowing for gluten development without the need for manual labor. The overnight rise not only ensures a tender crumb but also enhances the flavor profile, as the yeast ferments beautifully. Ingredients such as warm water activate the yeast effectively, while the addition of olives introduces a savory, briny depth that pairs excellently with the fluffy interior. Furthermore, baking in a Dutch oven traps steam, which maximizes crust development and keeps the crumb moist and airy. This clever cooking technique makes the bread approachable for all levels of home bakers.
Pro Tips for Best Results
- Use fresh pimento olives for optimal flavor.
- Add herbs or spices to the dough for an extra flavor dimension.
- Adjust rising time based on kitchen temperature for best results.
- Be careful when handling the hot Dutch oven to avoid burns.
- Allow your bread to cool completely for easier slicing.
Common Mistakes to Avoid
Mistake: Not letting the dough rise sufficiently.
Why it happens: Insufficient time may lead to dense bread.
How to fix it: Allow at least 2 to 3 hours for proper rising, or until doubled.
Mistake: Using cold water.
Why it happens: Cold water doesn’t activate the yeast properly.
How to fix it: Ensure the water is very warm but not hot, around 120°F/48°C.
Mistake: Not preheating the Dutch oven.
Why it happens: Lacking a hot environment can hinder crust formation.
How to fix it: Always preheat your Dutch oven alongside the oven.
Recipe Variations
- Use green olives for a tangy twist.
- Add sun-dried tomatoes for extra flavor.
- Mix in fresh herbs like rosemary or thyme.
- Include cheese like feta for a creamy touch.
- Try whole wheat flour for a nuttier flavor.
Nutrition Highlights
| Nutrient | Per Serving |
|---|---|
| Protein | 6g |
| Fiber | 2g |
| Carbohydrates | 34g |
| Healthy Fats | 4g |
| Calories | 180 |
How to Serve Olive Bread – No Knead Recipe
- Pair with olive oil and balsamic vinegar for dipping.
- Serve alongside a hearty soup or salad.
- Make sandwiches with hearty meats or veggies.
- Use as a side for family dinners or gathering.
- Toast slices for breakfast, topped with avocado or spreads.
Best Occasions for This Recipe
This olive bread is perfect for:
- Weeknight family dinners.
- Holiday gatherings and celebrations.
- Meal prep for quick lunches and snacks.
- Potlucks where sharing is encouraged.
- Casual brunches or picnics.
Make Ahead & Storage
Can This Be Meal Prepped
Yes! Prepping the dough in advance and allowing it to rise can save time on busy days.
Storing Leftovers
Store leftover bread in an airtight container for up to two days at room temperature.
Freezing
Wrap the bread tightly in plastic wrap and store in a freezer bag for up to three months.
Reheating
Reheat in a toaster or warm oven to restore crispness without drying out.
Creative Ways to Use Leftovers
- Make savory wraps filled with cheese and greens.
- Create delicious sandwiches with your favorite fillings.
- Incorporate into a lunch bowl with grains and proteins.
- Toast slices for a crunchy appetizer or snack.
FAQs
How can I adjust the flavor of this olive bread?
You can add different types of olives, incorporate spices, or even mix in some cheese for variety.
What can I serve with olive bread?
It pairs wonderfully with soups, salads, and antipasto platters. It can also be enjoyed with simple dips.
Can I use other types of flour?
Yes, feel free to experiment with whole wheat or bread flour to alter the texture and flavor.
How should I store leftover bread?
Store leftovers in an airtight container at room temperature or freeze for longer storage.
How do I know if the bread is done?
The bread is done when the crust is golden brown and sounds hollow when tapped on the bottom.
Save This Recipe for Later
If you enjoyed this olive bread recipe, consider saving it on Pinterest or sharing it with friends. It’s the perfect addition to your home baking collection!
Final Thoughts
This delightful olive bread offers a unique blend of flavors and textures, making it a must-try for quick meals and gatherings. Enjoy the warmth and richness that this no-knead recipe brings to your table. Try making it today, and discover the joy of baking!
No-Knead Olive Bread
Ingredients
Method
- In a very large bowl, whisk the flour, yeast, and salt until well combined.
- Create a well in the center and pour in the warm water, maple syrup, and olive oil.
- Stir the mixture until it forms a shaggy, incorporated dough with the olives evenly distributed, about 1 minute.
- Lightly grease the bowl’s sides, turn the dough in it to grease, and cover with plastic wrap or a kitchen towel.
- Allow the dough to rise at room temperature for 2 to 3 hours until doubled in size.
- During the last 30-40 minutes of rising, place your Dutch oven in the oven and preheat to 450°F (230°C).
- After the dough has risen, flour a clean surface and pour the dough onto it, sprinkling more flour on top as needed.
- Using a dough scraper or knife, fold the dough over itself several times until it feels tighter and holds shape, about 6 to 12 times.
- Transfer the dough to parchment paper and shape it into a circle, slitting the top for a decorative design if desired.
- Carefully place the dough into the preheated Dutch oven, cover with the hot lid, and bake for 45 minutes.
- Remove the lid and continue baking for another 15 to 20 minutes until the crust is golden brown.
- Remove from the oven, transfer to a wire rack, and cool completely before slicing, about 30 minutes.