
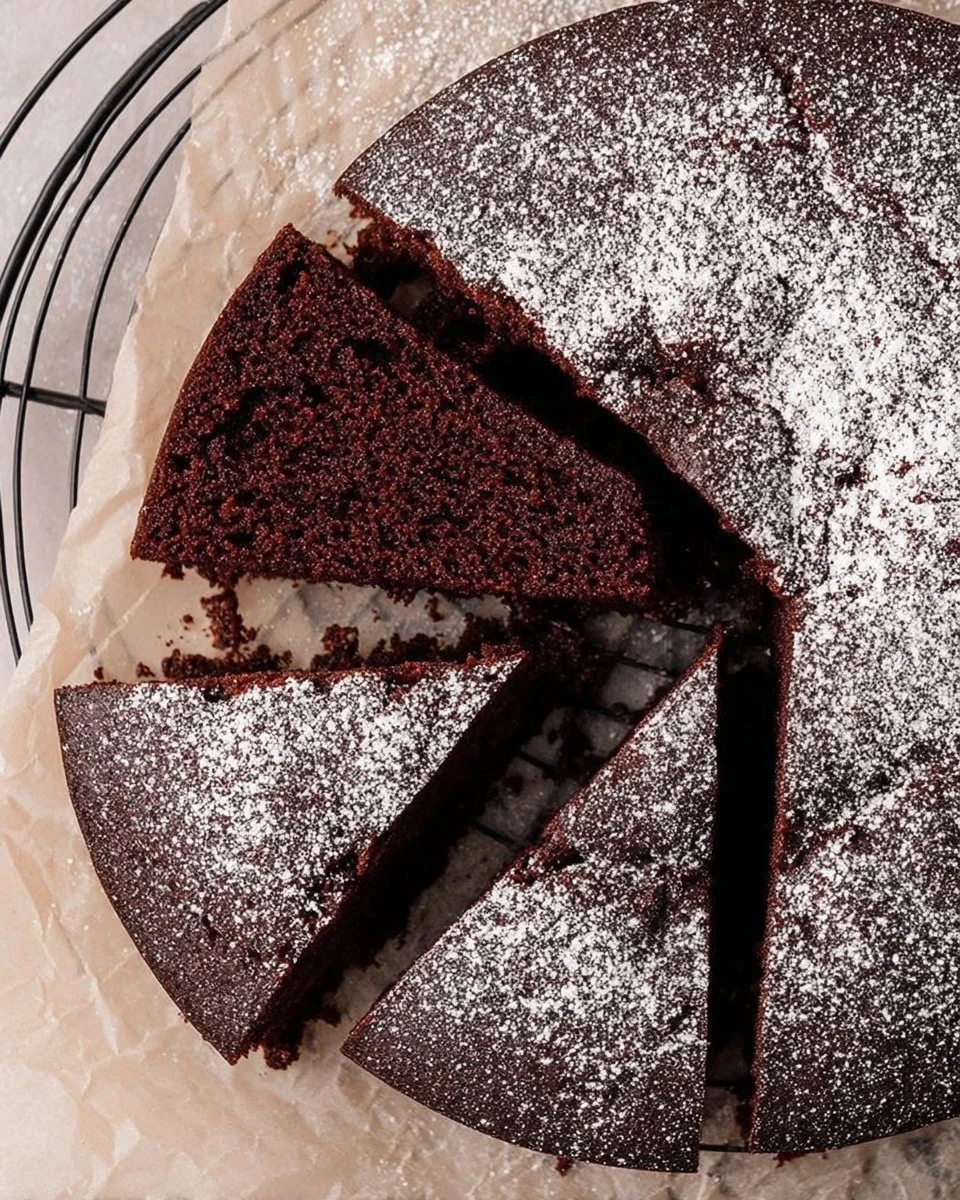
Imagine sinking your fork into a slice of a cake that’s not only soft and rich but also has the unique flavor of olive oil woven into every bite. This chocolate olive oil cake offers a delightful twist on traditional chocolate desserts, making it an irresistible choice for any occasion. With its moist texture and deep cocoa flavor, it’s a cake that everyone will love, from chocolate aficionados to those who are less enthusiastic about sweets. Plus, the use of olive oil lends a subtle fruity undertone, making it a standout treat that invites curiosity and excitement.
Quick Answer
This chocolate olive oil cake recipe is a simple, indulgent dessert that brings out the best in chocolate while ensuring a moist and decadent texture.
Why You’ll Love This Recipe
This recipe is designed to be your go-to for decadent, homemade desserts. Here’s why it stands out:
- Easy to make with simple ingredients, perfect for bakers of all skill levels.
- A unique flavor profile thanks to the olive oil, adding depth and richness.
- Moist and tender texture that keeps well for days.
- Versatile for any occasion, from casual gatherings to elegant celebrations.
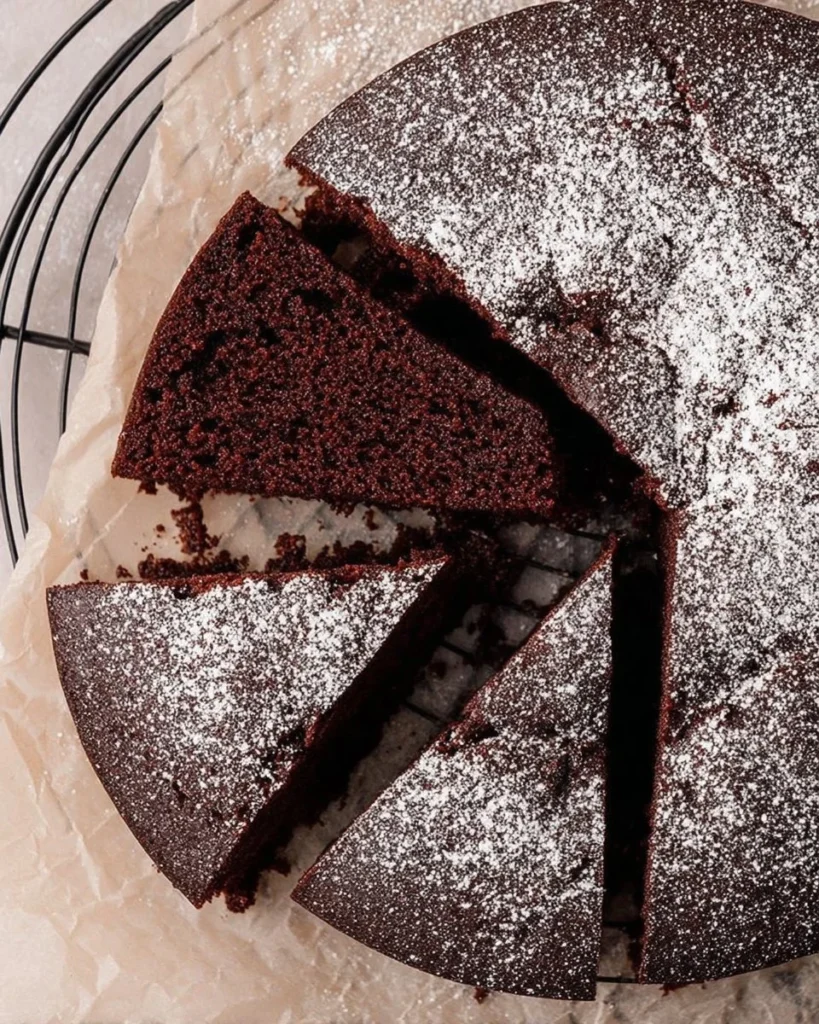
- Perfectly pairs with a dusting of confectioners’ sugar or a scoop of ice cream.
- Ideal for meal planning or as a comforting treat any day of the week.
What Makes This Recipe Special
The charm of this chocolate olive oil cake lies in its moistness and rich flavor brought by simple yet effective ingredients. The olive oil replaces traditional butter, imparting not just a unique flavor but also a luscious texture that enhances the cake’s overall indulgence. Combined with high-quality Dutch-process cocoa powder, every bite is a deep, chocolatey experience, while the addition of buttermilk ensures a soft crumb. This cake proves that sometimes, the simplest ingredients can create a spectacularly rich dessert that feels both luxurious and comforting.
Kitchen Tools You’ll Need
- 9-inch round cake pan – Ideal for achieving the perfect cake shape.
- Mixing bowls – Necessary for combining dry and wet ingredients.
- Whisk – Essential for creating a smooth batter without lumps.
- Measuring cups and spoons – Critical for accurate ingredient portions.
- Wire rack – Useful for cooling the cake evenly after baking.
Ingredients
all-purpose flour: Provides the structure and body for the cake, resulting in a tender texture.
Dutch-process cocoa powder: Enhances the chocolate flavor while giving the cake a rich color and smooth taste.
granulated sugar: Sweetens the cake and helps create a moist texture.
brown sugar: Adds deep flavor and moisture owing to its molasses content.
baking soda: Reacts with acidic ingredients to help the cake rise.
baking powder: Ensures proper leavening, creating lightness in the cake.
salt: Enhances all the flavors in the cake, balancing sweetness.
olive oil: Introduces moisture and richness, along with a subtle fruitiness.
eggs: Acts as a binder, providing structure and richness to the cake.
vanilla extract: Infuses the cake with warmth and enhances the chocolate flavor.
buttermilk: Contributes to a tender crumb and adds tanginess.
hot coffee: Deepens the chocolate flavor and activates the cocoa, resulting in a richer taste.
Ready to cook? Scroll to the recipe card below for exact measurements.
How to Make Chocolate Olive Oil Cake (Soft, Easy, and Rich)
Phase 1 – Prep
STEP 1. Preheat the oven. Set it to 350°F (175°C). Grease a 9-inch round cake pan and line the bottom with parchment for easy release.
STEP 2. Combine dry ingredients. In a large bowl, whisk together the flour, cocoa, granulated sugar, brown sugar, baking soda, baking powder, and salt until well combined.
Phase 2 – Cook
STEP 3. Add wet ingredients. Incorporate the olive oil, eggs, vanilla, and buttermilk. Whisk until the mixture is mostly combined, with a few small lumps being acceptable.
STEP 4. Mix in hot coffee. Pour in the hot coffee and whisk until the batter is smooth and glossy; it will be thin.
STEP 5. Bake the cake. Pour into the prepared pan and smooth the top. Bake for 35–40 minutes, or until the center springs back when lightly touched and a toothpick comes out clean or with a few moist crumbs.
Phase 3 – Serve
STEP 6. Cool the cake. Let it cool in the pan for 15 minutes, then turn it out onto a wire rack to cool completely. Flip twice so it’s right side up.
STEP 7. Dust and enjoy. Dust with confectioners’ sugar before serving, if desired.

Why This Recipe Works
This cake showcases the balance that comes from using both olive oil and buttermilk. Olive oil adds moisture while enhancing the cake’s flavor without overshadowing the chocolate. Meanwhile, buttermilk’s acidity works in tandem with the baking soda and powder to create a beautifully tender crumb. Thanks to the hot coffee, the cocoa flavor intensifies, resulting in a cake that doesn’t just taste good but also has a complexity that makes it enjoyable to eat. Each slice reveals a soft, rich texture that melts in your mouth, making it the perfect indulgent dessert.
Pro Tips
To ensure your chocolate olive oil cake turns out perfectly every time, consider these handy tips:
- Use room temperature ingredients for better emulsifying and a smoother batter.
- Don’t over-mix once you add the wet ingredients; lumps are perfectly fine.
- Let the hot coffee cool slightly before adding it to the batter, ensuring it doesn’t cook the egg mixture.
- For an extra savory flavor, try using a high-quality extra virgin olive oil.
- To keep the cake moist longer, wrap it in plastic wrap once fully cooled.
- Consider using a cake leveler if your cake domes during baking for perfect stacking or layering.
Common Mistakes to Avoid
Here are key pitfalls to watch out for:
- Mistake: Over-mixing the batter.
Why it happens: Bakers often feel the need to have a completely smooth batter.
How to fix it: Mix until just combined, allowing small lumps to be present. - Mistake: Skipping the parchment paper.
Why it happens: Some bakers might skip this step thinking greasing alone is enough.
How to fix it: Always line your cake pan to ensure perfect release and prevent sticking. - Mistake: Not checking for doneness.
Why it happens: Relying solely on baking time can lead to over or underbaked results.
How to fix it: Use a toothpick and check for clean results or moist crumbs. - Mistake: Using cold dairy ingredients.
Why it happens: Cold eggs and buttermilk don’t incorporate as well and can lead to denser cakes.
How to fix it: Always use room temperature ingredients.
Variations
- Replace olive oil with a flavored oil for a different taste.
- Add chocolate chips for extra chocolatey goodness.
- Incorporate nuts for added texture.
- Swap out the cocoa for a spice blend for a warm twist.
- Top with whipped cream or ice cream for a more decadent dessert.
Nutrition Highlights
| Nutrient | Role |
|---|---|
| Protein | Helps support satiety and balanced meals. |
Serving Ideas
This chocolate olive oil cake is versatile enough to be enjoyed in various settings. Serve it warm with a scoop of vanilla ice cream for a comforting dessert on chilly evenings. At brunch, pair it with a steaming cup of coffee to enhance the chocolate flavor. For special occasions, a simple garnish of fresh berries can elevate its presentation and add a refreshing contrast. Whether at a birthday party, holiday gathering, or cozy family dinner, this cake is sure to delight everyone.
Best Occasions for This Recipe
This chocolate olive oil cake shines during celebrations or as a comforting family dessert. It’s ideal for birthdays, anniversaries, or any festive gatherings. The rich flavors make it suitable for holidays like Christmas and Easter as well, while the ease of preparation means you can whip it up for last-minute company or a potluck. Regardless of the occasion, it promises to impress your guests and family alike.
Meal Prep & Storage
Meal Prep
To meal prep for this recipe, you can measure and mix the dry ingredients in advance. Store them in an airtight container until you’re ready to bake.
Refrigeration
Once the cake has cooled, wrap it tightly in plastic wrap or store it in an airtight container to keep it fresh in the fridge for up to a week.
Freezing
If you wish to store it for longer, freeze slices separately. Wrap each slice in plastic and place them in a freezer bag for up to three months. Allow to thaw naturally when ready to enjoy.
Reheating
Reheat individual slices in the microwave for about 10-15 seconds for a warm treat, or place the whole cake in a low-temperature oven to gently warm it through without drying it out.
{5e3e16a0-0182-48a8-8efe-3edcb2817567-1024×546.png}
FAQs
Can I use other oils besides olive oil?
Yes, you can substitute with vegetable or canola oil, but the flavor will differ slightly.
How do I store leftover cake?
Wrap it in plastic or store in an airtight container in the refrigerator for optimal freshness.
Can I make this cake ahead of time?
Absolutely! The cake can be made a day in advance and stored in the refrigerator.
What can I use instead of buttermilk?
You can create a buttermilk substitute by mixing milk with a tablespoon of vinegar or lemon juice.
Can I double the recipe for a larger cake?
Yes, you can double the ingredients and bake in larger pans; adjust the baking time accordingly.
Save This Recipe for Later
If you love this chocolate olive oil cake, save it to your Pinterest board or bookmark this page for easy access later!
Conclusion
This chocolate olive oil cake stands as a testament to how simple ingredients can create extraordinary flavors. With its moist texture and rich cocoa taste, it’s a delightful treat that can suit any occasion. Whether you’re sharing it with loved ones or indulging by yourself, this cake offers a comforting escape into the world of chocolate decadence. Happy baking!
Chocolate Olive Oil Cake
Ingredients
Method
- Preheat the oven to 350°F (175°C). Grease a 9-inch round cake pan and line the bottom with parchment for easy release.
- In a large bowl, whisk together the flour, cocoa, granulated sugar, brown sugar, baking soda, baking powder, and salt until well combined.
- Incorporate the olive oil, eggs, vanilla, and buttermilk into the dry ingredients. Whisk until the mixture is mostly combined, with a few small lumps being acceptable.
- Pour in the hot coffee and whisk until the batter is smooth and glossy; it will be thin.
- Pour the batter into the prepared pan and smooth the top. Bake for 35–40 minutes, or until the center springs back when lightly touched and a toothpick comes out clean or with a few moist crumbs.
- Let the cake cool in the pan for 15 minutes, then turn it out onto a wire rack to cool completely. Flip twice so it’s right side up.
- Dust with confectioners’ sugar before serving, if desired.