

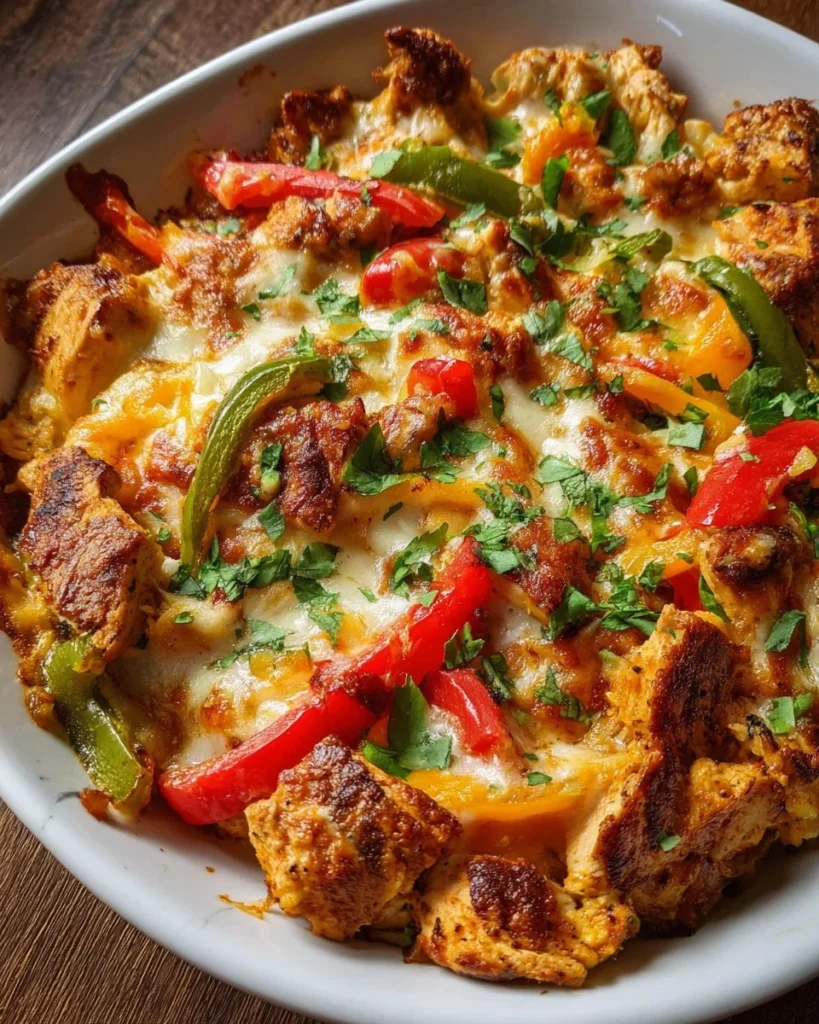
Looking for a family-friendly dinner that brings the vibrant flavors of Mexican cuisine to your table? This Chicken Fajita Casserole combines tender chunks of chicken, colorful bell peppers, and a spicy blend of seasonings all baked into a hearty casserole. It’s perfect for busy weeknights, meal prepping for the week ahead, or even serving at a dinner party. Each bite is loaded with flavor and texture, making this dish a satisfying and delicious choice for any occasion. Plus, it’s a healthy option that is sure to please everyone at the table – trust me, this is a game changer!
Why You’ll Love This Chicken Fajita Casserole
This Chicken Fajita Casserole is more than just a meal; it’s a delightful experience that your family will ask for again and again. Packed with vibrant colors and bold flavors, it’s a dish that not only nourishes but also excites. Perfect for meal prep and versatile enough to suit various dietary preferences, it’s a win-win for everyone!
- Delicious flavor profile with a hint of spice and freshness.
- Perfectly layered textures combining tender chicken and crispy veggies.
- Ideal for meal prep with portions that reheat wonderfully.
- Health benefits from lean protein and vegetables.
- Quick and easy to assemble, making dinner a breeze.
- Appeals to both kids and adults alike.
Ingredients for Chicken Fajita Casserole
- Chicken breast – lean protein that soaks up flavors beautifully.
- Bell peppers – adds color, crunch, and a sweet note.
- Onion – offers a savory base with great depth of flavor.
- Fajita seasoning – brings that signature Mexican flair to the dish.
- Canned tomatoes – adds juiciness and ties all the components together.
- Cheddar cheese – melty topping for a creamy finish.
- Rice or quinoa – the perfect base to soak up all the flavors.
Ready to cook? Scroll to the recipe card below for exact measurements.
How to Make Chicken Fajita Casserole
- Preheat your oven to 375°F (190°C).
- In a skillet over medium heat, sauté diced onion and bell peppers until softened, about 5 minutes.
- Add in cubed chicken breast and fajita seasoning; cook until the chicken is no longer pink, about 7-10 minutes.
- Mix in the canned tomatoes and stir thoroughly to combine.
- In a 9×13 inch baking dish, layer the cooked chicken mixture over a bed of rice or quinoa, spreading it evenly.
- Top with shredded cheddar cheese, making sure to cover the entire surface.
- Cover with foil and bake for 25 minutes. Remove foil and bake for an additional 10 minutes or until the cheese is bubbly and golden.
- Let it cool for a few minutes before serving.
Pro Tips for Best Results
- For added depth of flavor, marinate the chicken in fajita seasoning for an hour before cooking.
- If you prefer a lower-carb version, substitute rice with cauliflower rice.
- Boost flavor by adding a splash of lime juice before serving.
- Use a variety of bell peppers for a colorful presentation.
- Prepare the casserole a day in advance and store it in the refrigerator for easy baking the next evening.
Common Mistakes to Avoid
Overcooking the chicken: This can lead to dry meat. To prevent this, cook just until the chicken is no longer pink.
Skipping the seasoning: Fajita seasoning is key for flavor. Don’t skip or skimp on it, as it really elevates the dish.
Not layering properly: Ensure even distribution of ingredients when layering, or some bites could be bland. Spread everything out evenly for balanced flavor.
Recipe Variations
- For a gluten-free option, use quinoa instead of rice and check seasoning packets for gluten-free compliance.
- Make it dairy-free by omitting cheese or using a plant-based cheese alternative.
- Add some heat with jalapeños or a spicy seasoning mix for a fiery twist.
- For a herby version, add fresh cilantro or parsley as a garnish.
- Adapt this recipe for air fryer cooking by placing the mixture in an air fryer-safe dish and cooking at 350°F (175°C) for about 20 minutes.
How to Serve Chicken Fajita Casserole
- Best Pairings: Serve with a side of guacamole or a fresh salad.
- Toppings: Top with sliced green onions, avocado, or sour cream.
- Garnishes: Fresh cilantro or lime wedges add brightness and flavor.
Make Ahead & Storage
Can This Be Meal Prepped
Absolutely! This casserole is perfect for meal prep. You can make it in advance and refrigerate it for up to 3 days before baking.
Storing Leftovers
Store leftovers in an airtight container in the fridge for up to 4 days.
Freezing
You can freeze the uncooked casserole for up to 3 months. Just cover it tightly, and it’s ready to bake whenever you are!
Reheating
Reheat in the microwave or bake at 350°F (175°C) until heated through, about 15–20 minutes.
FAQs

Can I use frozen chicken? Yes, just ensure you fully cook it before mixing it into the casserole.
Is this recipe suitable for kids? Yes, the flavors are mild enough for children and can be adjusted for spice level.
What should I serve with the casserole? It pairs well with a side salad, tortilla chips, or corn on the cob.
How can I customize the veggies? Feel free to swap in other veggies like zucchini, corn, or mushrooms based on your preference!
Final Thoughts
This Chicken Fajita Casserole is a fantastic way to enjoy a healthy, flavorful meal with minimal effort. Packed with protein and veggies, it’s perfect for those looking to keep meals balanced and nutritious. Try this recipe and explore other options for delightful and satisfying dinners!
Chicken Fajita Casserole
Ingredients
Method
- Preheat your oven to 375°F (190°C).
- In a skillet over medium heat, sauté diced onion and bell peppers until softened, about 5 minutes.
- Add in cubed chicken breast and fajita seasoning; cook until the chicken is no longer pink, about 7-10 minutes.
- Mix in the canned tomatoes and stir thoroughly to combine.
- In a 9×13 inch baking dish, layer the cooked chicken mixture over a bed of rice or quinoa, spreading it evenly.
- Top with shredded cheddar cheese, making sure to cover the entire surface.
- Cover with foil and bake for 25 minutes. Remove foil and bake for an additional 10 minutes or until the cheese is bubbly and golden.
- Let it cool for a few minutes before serving.