
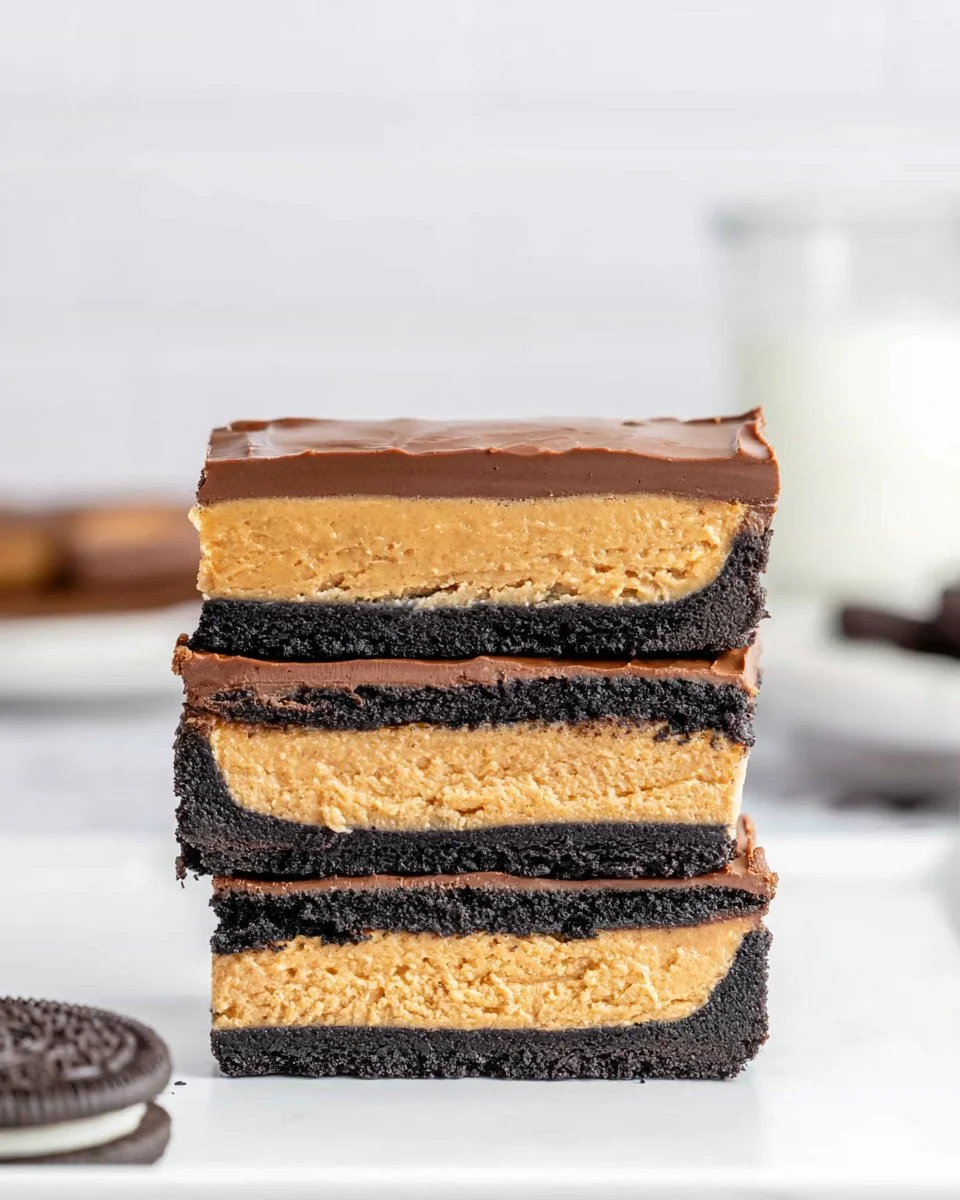
Whether you’re hosting a cozy family gathering or simply craving a sweet indulgence, these treats are sure to delight. Imagine biting into a rich, creamy peanut butter layer that’s comfortably nestled atop a crunchy Oreo crust, all drizzled with silky chocolate. It’s a harmonious blend of textures—crispy, creamy, and smooth—that makes each bite unforgettable.
Perfect for busy families, this recipe offers a quick and satisfying dessert option that requires minimal effort yet delivers maximum flavor. These bars are ideal for meal prep, allowing you to whip up a batch at the start of the week for an easy after-school treat or a satisfying snack during your work-from-home hours. Whether enjoyed after dinner or as a mid-afternoon pick-me-up, they bring joy to any occasion.
Quick Answer
Oreo Peanut Butter Bars are a no-bake dessert featuring layers of Oreo crust, creamy peanut butter filling, and a chocolate topping. They’re popular for their irresistible flavor combinations and texture, making them a go-to treat for families and gatherings alike.
Why You’ll Love This Recipe
These Oreo Peanut Butter Bars combine the sweetness of Oreos with a creamy peanut butter layer and a luscious chocolate topping, creating a dessert that’s both indulgent and satisfying. The contrast in textures, from the crunch of the Oreo base to the smoothness of the peanut butter filling, makes these bars a true pleasure for the taste buds.
- Family-Friendly: Loved by both kids and adults, perfect for sharing.
- Quick to Prepare: Requires minimal time and effort, making it great for busy lifestyles.
- Meal Prep Friendly: Can be made ahead and stored for on-the-go desserts.
- Rich Flavor: The combination of chocolate, peanut butter, and Oreo satisfies sweet cravings.
- Versatile: Perfect for any occasion, from picnics to holiday gatherings.
What Makes This Recipe Special
The balance of flavors in these bars creates a dessert that’s far from ordinary. The crunchiness of the Oreo crust complements the creaminess of the peanut butter layer, while the silky chocolate topping adds a luxurious finish. Not only is this recipe straightforward, but it also invokes feelings of nostalgia and comfort, making it a heartwarming choice for any gathering.
Kitchen Tools You’ll Need
- 8×8 inch baking pan – Perfect size for creating thick, chewy bars.
- Food processor or rolling pin – Ideal for crushing Oreos into fine crumbs.
- Microwave-safe bowl – Useful for melting chocolate smoothly.
- Spatula – Great for spreading the layers evenly.
- Parchment paper or aluminum foil – Makes for easy removal and cleanup.
Ingredients
Oreo cookies: Provides a crunchy and flavorful base.
unsalted butter: Adds richness and helps bind the crust.
brown sugar: Adds a slight caramel flavor and sweetness.
salt: Enhances flavors; omit if using salted butter.
smooth peanut butter: Delivers creaminess and a nutty flavor.
powdered sugar: Sweetens and slightly thickens the peanut butter layer.
semi-sweet chocolate: Forms a rich topping; can use your favorite variety.
shortening: Helps chocolate melt smoothly; can substitute with vegetable oil.
Ready to cook? Scroll to the recipe card below for exact measurements.
How to Make Oreo Peanut Butter Bars
Phase 1 – Prep
STEP 1. Prepare the pan. Line an 8×8 inch pan with parchment paper or aluminum foil, leaving an overhang around the sides.
Phase 2 – Cook
STEP 2. Make the Oreo crust. Crush the Oreo cookies in a food processor until fine; mix with the melted butter and press into the base of the prepared pan.
STEP 3. Prepare the peanut butter layer. Beat the softened butter and brown sugar together until smooth. Mix in the peanut butter and salt until there are no lumps. Gradually add the powdered sugar until fully incorporated.
STEP 4. Spread the peanut butter layer. Spoon the peanut butter mixture over the Oreo crust and spread evenly.
STEP 5. Create the chocolate layer. Chop the chocolate into fine pieces and melt it in a microwave-safe bowl, stirring until smooth. Stir in the shortening, then pour over the peanut butter layer and spread to smooth out the top.
STEP 6. Let it set. Allow the chocolate to harden at room temperature or refrigerate it for faster setting.
STEP 7. Slice the bars. When the chocolate is about 90% hardened, score the top where you plan to slice. Once set, lift the bars out using the overhang and slice with a sharp knife.
Why This Recipe Works
This recipe creates a delightful texture balance between the crunchy crust and creamy filling. The warm melted chocolate binds the layers and amplifies the dessert’s richness. Each ingredient plays a role in enhancing flavor while maintaining a pleasant mouthfeel, ensuring your bars are a satisfying treat for any sweet craving.
Pro Tips for Best Results
- Use a food processor for breaking down Oreos to achieve a finer crust texture.
- Chill the butter slightly if it’s too soft; it should be easy to blend but not melted.
- Let layers set completely before cutting for cleaner slices.
- Store in the fridge for a firmer texture; while at room temperature, they’re more gooey.
- Opt for dark chocolate for a richer flavor that pairs well with peanut butter.
Common Mistakes to Avoid
Mistake: Skipping the cooling time.
Why it happens:
Increased impatience can lead to messy slices.
How to fix it:
Allow proper cooling to ensure firmness.
Mistake: Using cold butter.
Why it happens:
Hard butter can make mixing difficult.
How to fix it:
Softened butter helps in achieving a smooth mixture.
Mistake: Not scoring the chocolate layer.
Why it happens:
Potential crumbles may occur when slicing if not pre-scored.
How to fix it:
Use a sharp knife to lightly score the chocolate before it fully hardens.
Recipe Variations
- Add chopped nuts for extra crunch.
- Use crunchy peanut butter for additional texture.
- Swirl in some marshmallow fluff for a different flavor.
- Incorporate melted caramel sauce between the layers.
- Substitute Oreos with other types of sandwich cookies.
Nutrition Highlights
| Nutrient | Amount per Serving |
|---|---|
| Protein | Varies based on peanut butter |
| Fiber | Relative to cookies used |
| Carbohydrates | From cookies and sugar |
| Healthy Fats | From peanut butter |
| Calories | Calorie-conscious popular choice |
How to Serve Oreo Peanut Butter Bars
- Pair with a glass of cold milk or hot coffee.
- Top with whipped cream for added indulgence.
- Garnish with crushed Oreos or nuts.
- Serve in milkshake form as a blended treat.
Best Occasions for This Recipe
- Weeknight dinners as a dessert treat.
- Holiday gatherings to impress guests.
- Meal prep for easy snacks throughout the week.
- Family gatherings to delight with homemade sweets.
- Potlucks for easy sharing of delicious snacks.
Make Ahead & Storage
Can This Be Meal Prepped
Yes, these bars can easily be prepared in advance. They keep well in the refrigerator for up to a week, making them perfect for meal prep.
Storing Leftovers
Store leftover bars in an airtight container in the fridge. This helps maintain their freshness and flavor.
Freezing
For longer storage, wrap bars tightly in plastic wrap and place them in the freezer. They can last up to three months when frozen.
Reheating
If frozen, let thaw overnight in the fridge before enjoying. They can also be left at room temperature for a couple of hours.
Creative Ways to Use Leftovers
Leftover bars can be a creative inclusion in:
- Chocolate shakes or smoothies for a sweet touch.
- Breakfast bowls mixed with yogurt and fruit.
- Lunchbox treats for kids, wrapped for convenience.
FAQs
Can I use crunchy peanut butter instead of smooth?
Yes, using crunchy peanut butter will add texture to the bars.
How long do these bars last?
They can last about one week in the refrigerator if stored properly.
Can I substitute the chocolate?
Yes, feel free to use white chocolate or milk chocolate depending on your preference.
Is it necessary to refrigerate the bars?
While not necessary, refrigeration helps maintain their firmness and flavor.
Can I make these bars gluten-free?
Yes, using gluten-free Oreos will make the bars gluten-free.
Save This Recipe for Later
If you love these Oreo Peanut Butter Bars, consider saving this recipe to your Pinterest, sharing with friends, or bookmarking for easy access later!
Final Thoughts
These Oreo Peanut Butter Bars are an irresistible combination of flavors and textures that are not only satisfying but also incredibly simple to prepare. Grab your ingredients, and treat yourself to this delightful dessert that everyone will adore. Don’t forget to explore related recipes and enjoy the fun of creating in the kitchen!
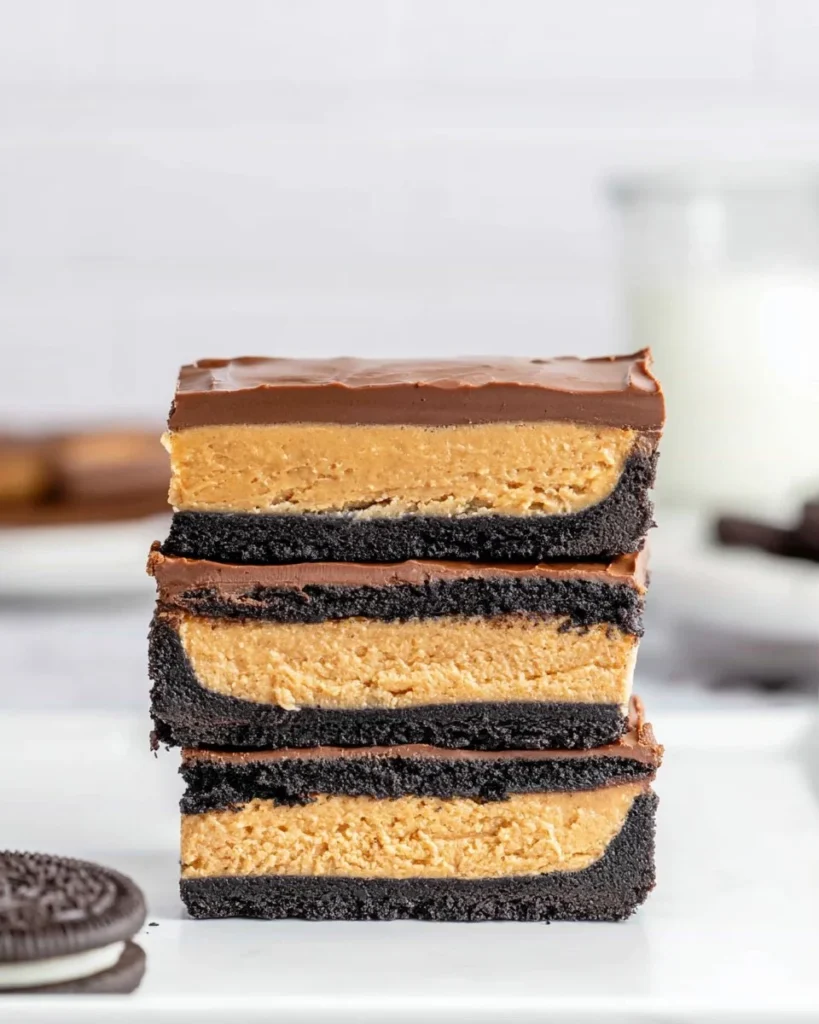
Oreo Peanut Butter Bars
Ingredients
Method
- Prepare the pan by lining an 8x8 inch baking pan with parchment paper or aluminum foil, leaving an overhang around the sides.
- Crush the Oreo cookies in a food processor until fine, mix with the melted butter and brown sugar, then press into the base of the prepared pan.
- Beat the softened butter and brown sugar together until smooth.
- Mix in the peanut butter and salt until there are no lumps.
- Gradually add the powdered sugar until fully incorporated.
- Spoon the peanut butter mixture over the Oreo crust and spread evenly.
- Chop the chocolate into fine pieces and melt it in a microwave-safe bowl, stirring until smooth.
- Stir in the shortening, then pour over the peanut butter layer and spread to smooth out the top.
- Allow the chocolate to harden at room temperature or refrigerate for faster setting.
- When the chocolate is about 90% hardened, score the top where you plan to slice.
- Once set, lift the bars out using the overhang and slice with a sharp knife.