
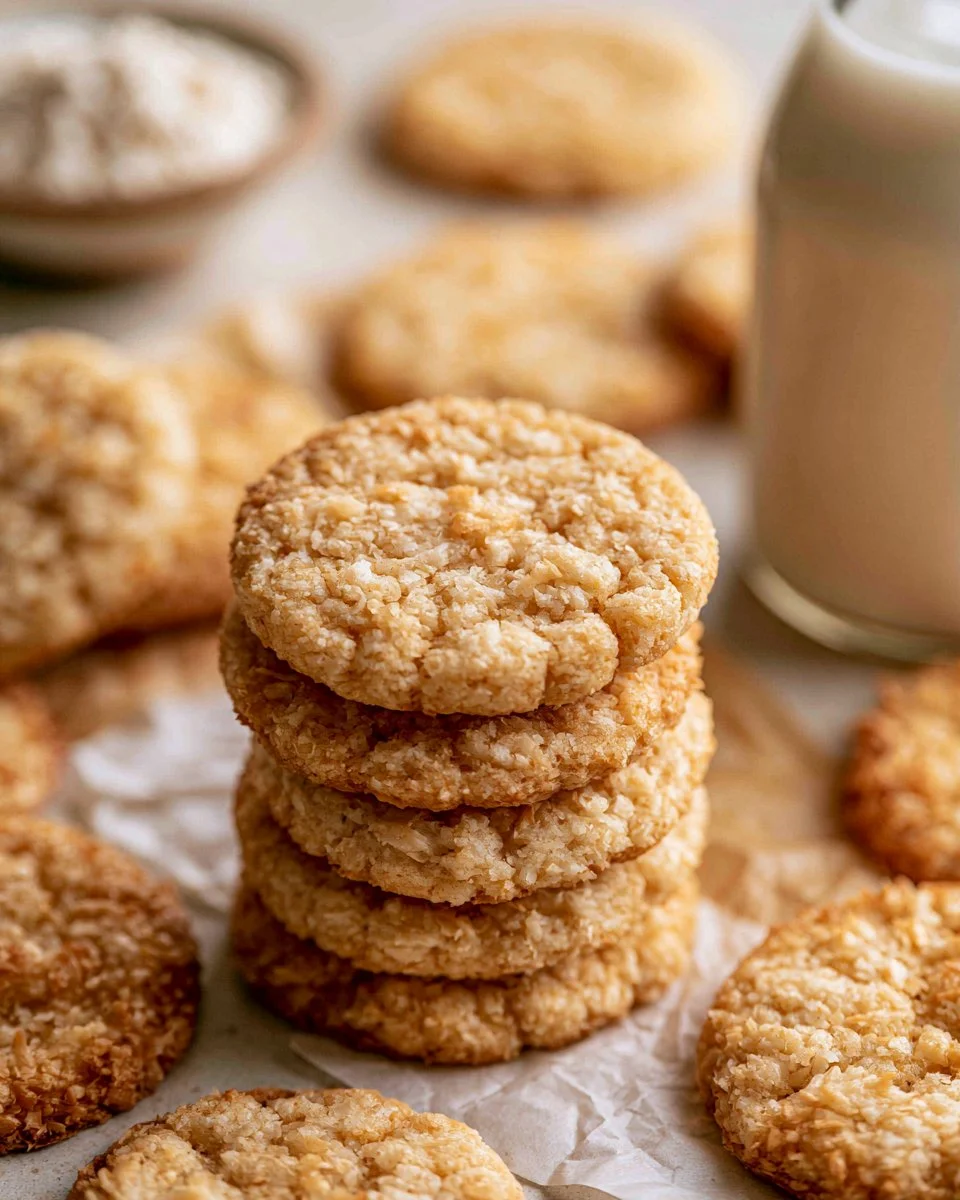
Imagine the aroma of freshly baked cookies wafting through your kitchen, inviting your family and friends to gather around. That’s the comfort of homemade treats like these delightful biscuits, featuring the rich, creamy notes of coconut. With each bite, you’ll experience a satisfying crunch that gives way to a soft, chewy center, capturing a perfect balance of textures. Whether you’re preparing a quick snack for your kids after school or hosting a cozy gathering, these biscuits are sure to be a hit. Plus, they are incredibly simple to make, fitting seamlessly into your busy lifestyle and meal-prep plans.
Quick Answer
Coconut biscuits are a light yet rich cookie, perfect for satisfying any sweet tooth. They are popular for their tropical flavor and chewy texture, making them an excellent choice for families or those looking for a sweet treat without too much fuss.
Why You’ll Love This Recipe
This recipe for coconut biscuits combines the sweetness of brown and white sugars with the natural flavor of coconut, resulting in a cookie that’s both comforting and satisfying. They have a wonderfully chewy texture that is enhanced by the slightly crispy edges, making each bite enjoyable. Moreover, they are easy to incorporate into your baking routine, whether you’re planning for a week busy with school and work or whipping up something sweet for the weekend.
- Perfect for snacking or dessert.
- Nutritious ingredients keep the recipe wholesome.
- Great for sharing at events like potlucks or family gatherings.
- Versatile enough for various occasions.
- Simple preparation saves on time and effort.
- Can be stored easily for quick access.
- Freezes well for future enjoyment.
What Makes This Recipe Special
This coconut biscuit recipe stands out thanks to its unique blend of flavors and textures. The pairing of butter with both white and brown sugars contributes to a delightful melt-in-your-mouth experience. The addition of unsweetened medium shredded coconut adds an authentic island flair, while the careful mixing ensures your cookies remain soft and luscious. These biscuits are not just another cookie recipe; they evoke feelings of home and nostalgia, perfect for indulging in moments of joy.
Kitchen Tools You’ll Need
- Mixing Bowl – Essential for combining the butter and sugars.
- Handheld Mixer or Stand Mixer – Helps achieve a light and fluffy texture.
- Baking Sheet – Needed for baking the biscuits to perfection.
- Parchment Paper – Prevents sticking and makes cleanup easier.
- Cookie Scoop – Ensures uniform cookie sizes for even baking.
- Wire Rack – For cooling the biscuits after baking.
Ingredients
butter: Provides a rich, creamy base for the biscuits.
white sugar: Adds sweetness and contributes to the soft texture.
brown sugar: Introduces moisture and a hint of caramel flavor.
egg: Binds the ingredients together while adding richness.
vanilla extract: Enhances the overall flavor profile of the biscuits.
all-purpose flour: Forms the structure of the biscuits.
baking soda: Helps the biscuits rise and achieve a light texture.
salt: Balances the sweetness and amplifies the flavors.
unsweetened medium shredded coconut: Provides a tropical flavor and chewy texture.
Ready to cook? Scroll to the recipe card below for exact measurements.
How to Make Coconut Biscuits
Phase 1 – Prep
STEP 1. Preheat the oven. Set your oven to 350°F and line two baking sheets with parchment paper.
STEP 2. Mix the butters and sugars. In a mixing bowl, combine the softened butter, brown sugar, and granulated sugar, and beat until light and fluffy (about 1-2 minutes).
STEP 3. Add egg and vanilla. Incorporate an egg and vanilla extract into the mixture and mix until well combined.
STEP 4. Combine dry ingredients. Gradually mix in the all-purpose flour, baking soda, and salt until just combined.
STEP 5. Add coconut. Gently fold in the shredded coconut until evenly dispersed through the dough.
Phase 2 – Cook
STEP 6. Form the dough balls. Use a medium cookie scoop or your hands to roll the dough into 1½ tablespoon-sized balls and place them on the prepared baking sheets, spacing them about 3 inches apart.
STEP 7. Bake the biscuits. Bake one tray at a time for 7-10 minutes, until the edges are set and the tops look slightly under-baked.
Phase 3 – Serve
STEP 8. Cool the cookies. Let the cookies cool on the baking sheet for 10 minutes before transferring them to a wire rack to cool completely.
STEP 9. Store or serve. Store in an airtight container at room temperature for up to 4-5 days, or freeze the cookie dough balls for up to 3 months for later use.
Why This Recipe Works
The combination of both granulated and brown sugars in this recipe not only enhances the taste with layers of sweetness but also contributes to the moisture, keeping your cookies wonderfully soft. The unsweetened coconut creates a pleasing chewiness that complements the crumbly texture of the biscuit. Baking at the right temperature is crucial here; it ensures the edges form a little crunch while the center remains deliciously tender. Each of these elements works together to produce a biscuit that is satisfying, delicious, and beautifully textured.
Pro Tips for Best Results
- Ensure your butter is softened for perfect mixing.
- Do not overmix the dough once you add the flour; it keeps the biscuits tender.
- For a more robust coconut flavor, toast the coconut before mixing it in.
- Chill the dough for about 30 minutes if you want a thicker biscuit.
- Try adding chocolate chips or nuts for a comforting twist.
Common Mistakes to Avoid
Mistake: Using cold butter.
Why it happens: Many assume any temperature will work.
How to fix it: Let your butter soften at room temperature for better texture.
Mistake: Overbaking the biscuits.
Why it happens: Misestimating the baking time can lead to dry cookies.
How to fix it: Keep an eye on the edges and remove them when they’re just set.
Mistake: Not spacing the cookies enough.
Why it happens: Pan crowding can lead to sticking.
How to fix it: Leave plenty of room for the biscuits to spread while baking.
Recipe Variations
- Mix in chocolate chips for a sweet contrast.
- Add crushed nuts for extra crunch.
- Substitute a portion of the flour with whole wheat flour for added nutrition.
- Use flavored extracts like almond or coconut for a twist.
- Incorporate citrus zest for a refreshing note.
Nutrition Highlights
| Nutrient | Per Serving |
|---|---|
| Protein | 2g |
| Fiber | 1g |
| Carbs | 18g |
| Healthy Fats | 5g |
| Calories | 120 |
How to Serve Coconut Biscuits
- Pair with a cold glass of milk or a warm cup of tea.
- Serve alongside fresh fruit or yogurt for a balanced snack.
- Top with a light dusting of powdered sugar for a fancy touch.
- Use them as a base for a dessert sandwich with frosting or whipped cream.
- Arrange on a beautiful platter for occasions or gatherings.
Best Occasions for This Recipe
- For busy weeknight dinners as a quick dessert.
- Holiday gatherings for a festive treat.
- Meal prep to have delicious snacks ready on hand.
- Family gatherings to share with loved ones.
- Potlucks where everyone loves to try new things.
Make Ahead & Storage
Can This Be Meal Prepped
Yes, the dough can be made ahead of time and refrigerated for up to 2 days before baking, allowing for fresh cookies at a moment’s notice.
Storing Leftovers
Once baked, store leftovers in an airtight container at room temperature for 4-5 days to maintain their freshness.
Freezing
To freeze the cookie dough, roll into balls and place them on a baking sheet. Freeze until solid, then transfer to a freezer bag for up to 3 months.
Reheating
For a quick reheat, place the cookies in a microwave for 10-15 seconds or pop them in the oven at 350°F for about 5 minutes to refresh.
Creative Ways to Use Leftovers
Leftover coconut biscuits can be transformed into:
- Crushed toppings for ice cream sundaes.
- Ingredients for a dessert parfait layered with yogurt and fresh fruit.
- Slices for a sweet sandwich filled with peanut butter or Nutella.
- Crumbled over breakfast oatmeal or smoothies for added texture.
FAQs
How do I store coconut biscuits?
Keep them in an airtight container at room temperature for up to 5 days.
Can I freeze the cookie dough?
Absolutely! Freeze the dough balls and bake them fresh when ready.
Can I use sweetened coconut?
While it’s possible, using unsweetened coconut maintains the balance of flavors.
What can I add to enhance the flavor?
Consider adding chocolate chips, nuts, or citrus zest for additional flavor profiles.
How do I achieve a softer biscuit?
Avoid overbaking and ensure your butter is at the right temperature for optimal texture.
Save This Recipe for Later
If this coconut biscuits recipe has caught your eye, don’t forget to save it for later! Share with your friends or pin it so you can easily find it when you’re ready to bake.
Final Thoughts
These coconut biscuits are not just a treat; they encapsulate the warmth of home baking with each delicious bite. Their comforting texture and delightful flavor make them an excellent addition to your recipe repertoire. Try making them for a family gathering, or keep them handy for your busy week ahead. Explore more related recipes for even more baking joy!
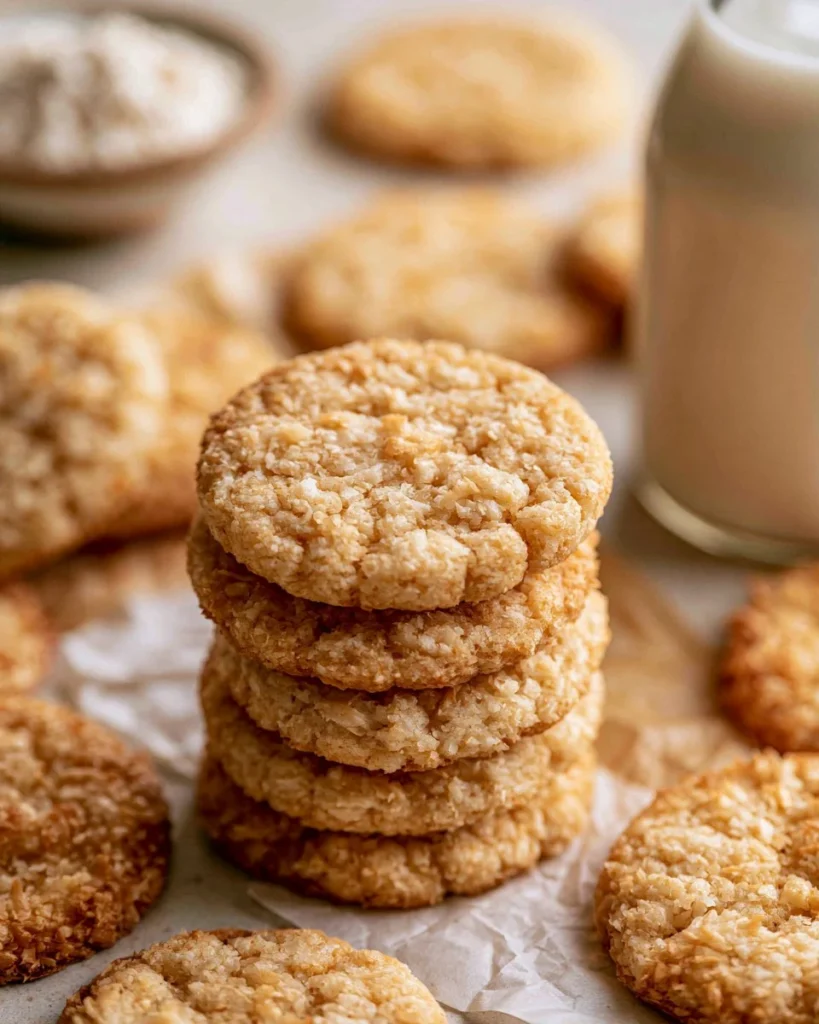
Coconut Biscuits
Ingredients
Method
- Preheat the oven to 350°F and line two baking sheets with parchment paper.
- In a mixing bowl, combine the softened butter, brown sugar, and granulated sugar, and beat until light and fluffy (about 1-2 minutes).
- Incorporate the egg and vanilla extract into the mixture and mix until well combined.
- Gradually mix in the all-purpose flour, baking soda, and salt until just combined.
- Gently fold in the shredded coconut until evenly dispersed through the dough.
- Use a medium cookie scoop or your hands to roll the dough into 1½ tablespoon-sized balls and place them on the prepared baking sheets, spacing them about 3 inches apart.
- Bake one tray at a time for 7-10 minutes, until the edges are set and the tops look slightly under-baked.
- Let the cookies cool on the baking sheet for 10 minutes before transferring them to a wire rack to cool completely.
- Store in an airtight container at room temperature for up to 4-5 days, or freeze the cookie dough balls for up to 3 months for later use.